
Guides
How to Throw a Grenade in Fallout 4 – A Comprehensive Guide

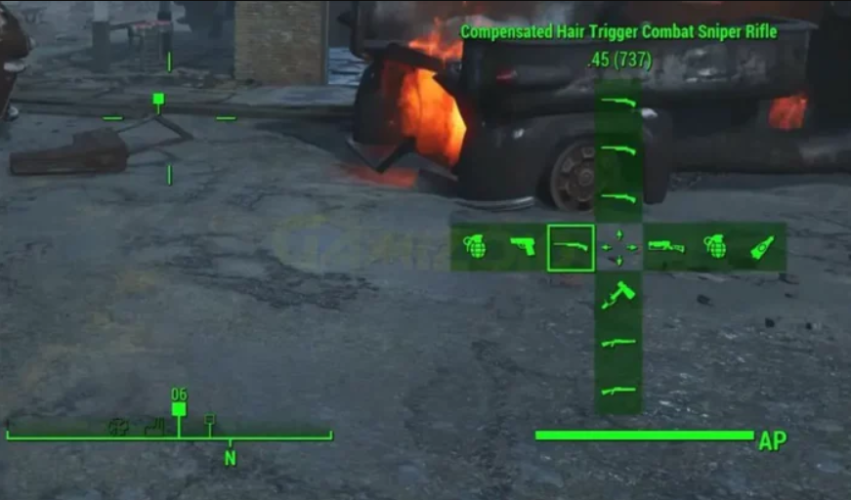
Fallout 4 has established itself as one of the leading action games. Throwing a grenade is one of the most popular feats among all the different features.
When you have your enemies hiding behind buildings or objects, aiming a rifle shot at them from a distance becomes impossible. This is where throwing a grenade in Fallout 4 becomes a necessity. A single throw can wipe out multiple enemies at a time.
This guide will walk you through all the steps, tips, and tricks that you need to master about throwing a grenade in Fallout 4.
Understanding Grenades in Fallout 4
We must understand the significance before we look at the mechanics of throwing a grenade in Fallout 4.
Believe it or not, grenades are an intrinsic part of your arsenal in Fallout 4. It is a simple and one-shot way to wipe out the enemies that are taking cover and harder to reach. So, if you are stuck in challenging situations in the game and have been looking for ways to navigate through them, grenades are undoubtedly your safest bet.
When discussing grenades, understanding their types is equally vital. So, let us walk you through the types first:
- Fragmentation grenade – Inflicts moderate damage to the enemy camp base and will damage enemies nearby.
- Molotov cocktail – This type of incendiary device triggers flames when it comes into contact with any item. Also, it will trap your enemies in a fire, taking them down.
- Plasma grenade – This is a high-impact explosive that triggers a massive explosion that leads to damage to the enemies that are present within the blast radius.
- Pulse grenade – This is a type of EMP grenade that can destroy robots, synths, and similar kinds of enemies.
- Cryogenic grenade – This is the complete opposite of the standard grenades we came across before since its explosion releases freezing energy and freezes everything in its line of explosion.
- Synth relay grenade – This kind of grenade will bring a friendly synth beside you for support to take down the enemies.
- Artillery smoke grenade – This throwable device should be used with artillery to implement a strike on the target location.
- Vertibird signal grenade – This type of throwable signal flare that players can use during times of crisis or emergency.
These are some of the unique grenades available in Fallout 4 to help you tackle the enemies in question.
Also Read: UK Charts: Fallout 4 Claims Third Biggest Launch of 2015.
Equipping and Using Grenades in Fallout 4
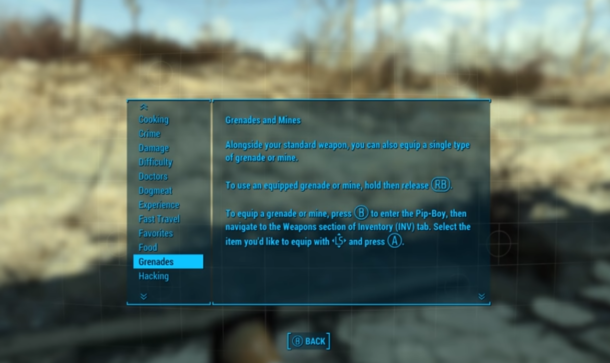
Now that you have a brief understanding of the different types of grenades used in Fallout 4, the next thing we need to master is using this tool.
To make things easier on you, we have broken it down into three steps:
Accessing the Grenade Inventory
You need to open your Pip-Boy and navigate to the Inventory tab. You can select the “Weapons” tab and find the grenade there.
Selecting the Appropriate Grenade
Since there are different types of grenades available in Fallout 4, you must choose the right over to overcome the challenges you are facing in the game at that moment.
Some of the factors to consider when choosing a grenade are:
- Type of enemies you are facing at that moment.
- The kind of environment you are in.
- If you have your personal preferences regarding the grenade.
Understanding the Throwing Arc and Distance
The last element worth paying attention to is the throwing arc and distance. Each grenade we discussed has a different throwing arc and distance. So, assessing your enemy’s positioning and throwing the grenade makes all the difference.
What you need to do is select a relevant grenade first and then follow the steps to launch it:
- Hold down the melee button.
- Once you hear a click sound, release the button to throw the grenade.
Following that, the grenade will fly toward the direction you aimed and explode in the enemy’s camp so you can take them all down.
Also Read: Fallout 4 Nude Mod Download.
Targeting and Aiming Grenades in Fallout 4
Following the equipping and usage come targeting and aiming the grenade correctly to take down the enemies trying to take cover.
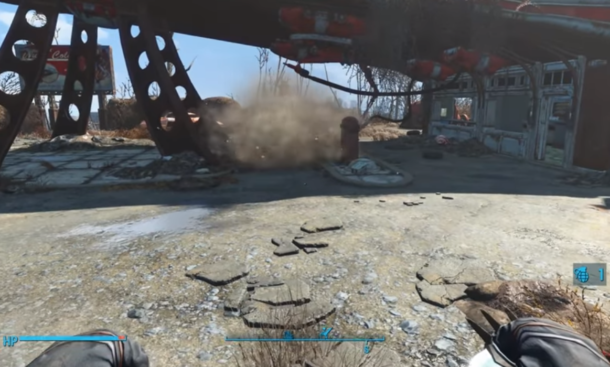
When it comes to targeting and aiming the grenade, the following are a few tips we’d recommend you pay close attention to:
Assess the Environment for Potential Targets – You can’t waste a grenade on a guess. You have to find a potential target in your surroundings and lock the target to them launch the grenade at them. Look for enemies that are clustered together or enemies that are behind the cover. You can also use grenades to destroy environmental hazards, such as cars or buildings, that enemies can use as cover.
Identify the Weakness – Once your target is narrowed down, you must identify its weakness. There could be many, like wearing heavy armor, hiding behind cars, being grouped, etc. Knowing the weakness will help you pick the proper grenade to drop.
Navigate the Terrain and Obstacles – The terrain and obstacles in the environment can affect the trajectory of a grenade. Be sure to take this into account when you are targeting your enemies. For example, if you are throwing a grenade over a wall, you will need to aim higher than you would if you were throwing it in a flat area.
Keeping these three tips in mind will help you find your target better and ensure that your aim is in the right direction.
Timing and Coordination Involving Grenades in Fallout 4
So, you have located your enemy troops and are ready to throw the grenade. What comes next? Well, timing and coordination.
Much like you, even the enemies consistently move around and devise a plan to take you down. Planning proper timing for throwing the grenade is thus quite important. You want to proceed with a coordinated move to ensure that the grenade does its job well.
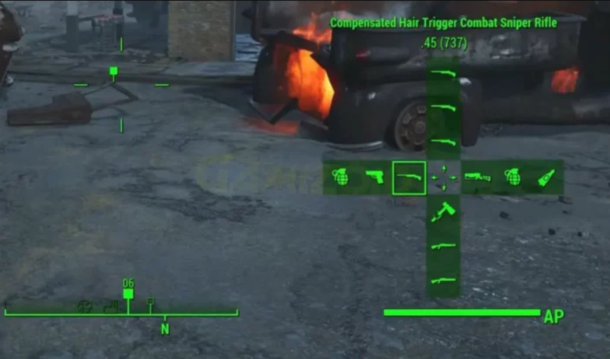
Following are a few tips worth paying attention to:
Analyzing the Enemy’s Movement Patterns
We mentioned that your enemies in Fallout 4 are constantly moving and planning. So, before you throw the grenade, analyze its movement patterns. Doing so will help you predict what they will do next and throw the grenade when they are most vulnerable.
Utilize the Distractions
Use distractions to create opportunities for successful throws. For example, you can use a melee attack to knock an enemy down, or you can use a silenced weapon to fire a shot that will attract the attention of the enemies. This will give you a chance to throw a grenade without being detected.
Coordinate with Your Companions
If you have companions in the game, now is the time to make the most of them. You can coordinate the plans with them and then plan your attacks accordingly. Not only does it help your team up and strengthen your chances of securing a big win, but it also simplifies the process of throwing the grenade too.
Grenades are powerful weapons and also expensive to replace. This is why you need to use them tactically and sparingly.
Check out our article on ‘Fallout 3 Receives Point Lookout Tomorrow‘.
Safety Measures and Precautions while Throwing Grenades in Fallout 4
When throwing a grenade in Fallout 4, you aim to take the enemy down. The last thing you want to do is inflict self-damage. In some cases, not paying attention to this can also lead to fire incidents.
Following are a few safety measures worth paying attention to:
- When planning to throw a grenade, ensure that your teammates or civilians aren’t in the middle of the crossfire.
- If required, find cover before you throw the grenade not to hurt yourself.
- Once you have thrown the grenade at your enemy, remove yourself from the area as quickly as possible. If the blast radius is large, the impact might hurt you.
- Choosing the correct type of grenade for specific situations can minimize the impacts and safety concerns.
- If a grenade accidentally bounces back towards you, don’t try to run and pick it up. Instead, run away from it as quickly as possible.
These quick tips should help you overcome risks and casualties when throwing a grenade in Fallout 4.
Throwing Grenades On PC, PS4, And Xbox
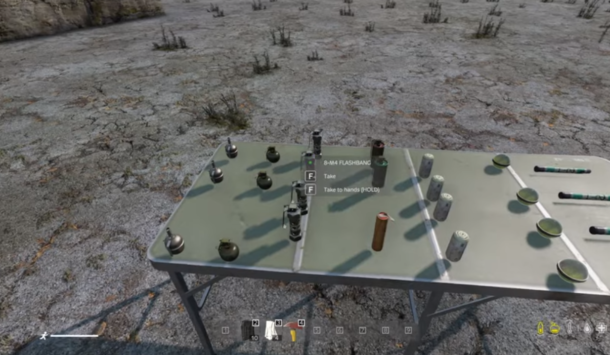
The action of throwing grenades on different gaming consoles is different. Hence, mastering them correctly is vital to simplify the process.
PC – Hold and then release the “ALT” key to load and throw a grenade.
PlayStation 4 – Hold the melee button or R1 button to throw the grenade.
Xbox – Hold down the melee or RB button to launch the grenade.
So, depending on which console you are playing the game on, you can throw the grenade as per the instructions mentioned.
Throwing Grenades in VATS Mode
If you are playing Fallout 4 in VATS mode, you can also throw a grenade during that. The only catch is to follow the steps as mentioned:
- Hold the melee button on your controller and wait until you hear a clicking sound.
- Simultaneously hold the melee button and then the VATS button to enter the VATS mode.
- Target the enemy or base camp you wish to throw the grenade at.
That’s pretty much it. Once you set your aim, you can release the melee button to throw the grenade and watch the explosion happen.
Also Read: Download Fallout FREE from Good Old Games.
Conclusion
Throwing a grenade in Fallout 4 isn’t as complicated as you think. If you follow the steps mentioned, prioritize an accurate aim, and throw, you are all set with the process. The only tip we’d recommend you pay attention to is your safety and the safety of your teammates and civilians when grenades are involved.





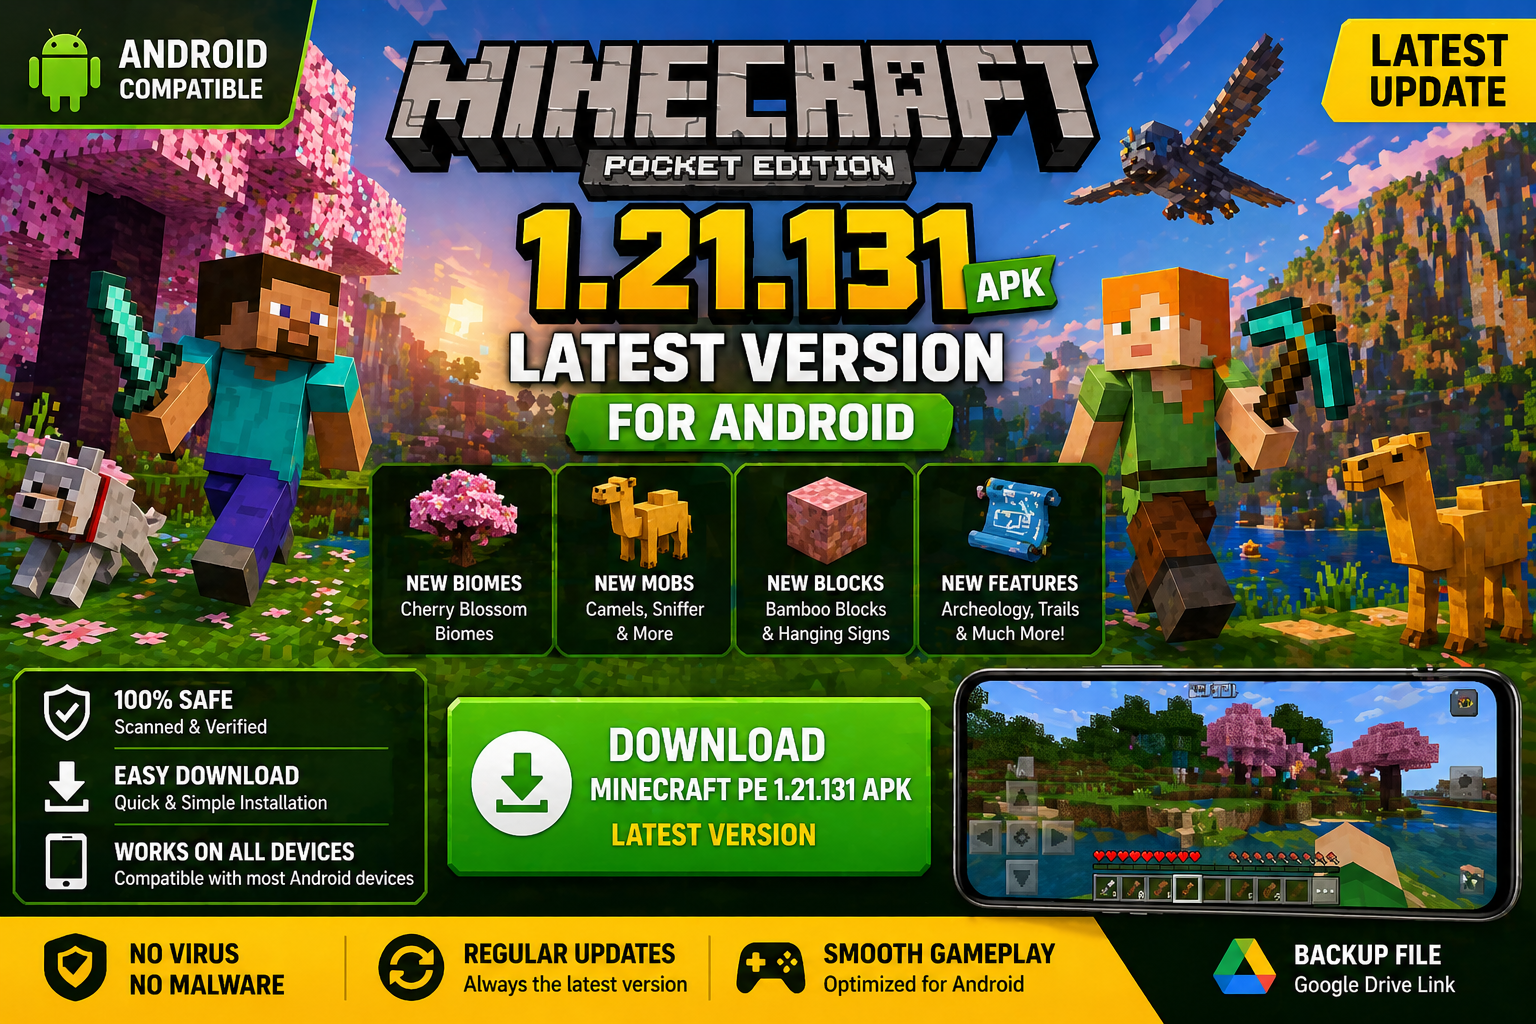
Download Minecraft PE 1.21.131 APK for Android
Minecraft Bedrock 1.21.131 is a focused hotfix update — improved Spear combat, two important bug fixes, and better overall stability on Android. No new content, but a noticeably smoother experience.
Spear Knockback Improvement
The window during which a charged Spear attack can apply knockback has been extended. This makes combat feel more reliable — the attack now connects as expected without requiring pinpoint timing, especially useful when fighting multiple mobs at once.
Spear Animation Alignment
Charge attack animations now accurately sync with the Spear’s three gameplay phases: Engaged, Tired, and Disengaged. What you see on screen now matches what the game engine is actually doing — making combat more readable and reducing guesswork in fights.
Performance & Stability
Frame drops on mid-range Android hardware have been reduced. Memory handling improvements prevent sudden freezes during long play sessions. World loading and chunk generation are more reliable, reducing terrain “pop-in” when exploring or moving quickly.
Multiplayer Improvements
Backend updates improve session stability when players join or leave. Fewer disconnects and smoother synchronisation across Bedrock servers. Marketplace content and add-ons also load more consistently during multiplayer sessions.
Adventuring Time Achievement Fixed — The achievement no longer unlocks early. It now correctly requires visiting at least 17 biomes on PC, matching the intended design.
Marketplace Escape Key Fixed — Pressing Escape after using the Marketplace search now reliably returns players to the previous menu instead of getting stuck in a loop.
Add-on World Loading Fixed — A bug that triggered a “Block” error when loading or creating worlds with multiple add-ons installed has been resolved.
Download the APK
Tap one of the Download buttons above. Choose the Standard (no music) version if storage is limited, or the Full version for the complete experience. The ARM64 build is recommended for modern phones.
Enable “Install Unknown Apps”
Go to Settings → Security (or Privacy) → Install unknown apps. Enable the permission for your browser or file manager. Android requires this for any APK installed outside Google Play.
Open the APK File
Open your Downloads folder, find the Minecraft 1.21.131 APK, and tap it to launch the system installer. Follow the on-screen prompts.
Install Over Existing Version
In most cases you can install 1.21.131 directly over your existing Minecraft without losing any worlds or progress. If you see a signature conflict error, uninstall first — but back up your worlds beforehand.
Launch and Sign In
Open Minecraft, sign in with your Microsoft/Xbox Live account, and your existing worlds will load normally. Online multiplayer, Realms, and Marketplace content all work as before.
Download Minecraft PE 1.20 APK for Android
Get the full Minecraft Bedrock 1.20 (Trails and Tales) APK for Android. Supports Xbox Live sign-in. Multiple versions available — stable releases and preview builds.
Download the APK File
Tap the Download button above for the version you want. The APK file will save to your device’s Downloads folder.
Enable “Install Unknown Apps”
Go to Settings → Security or Privacy → Install unknown apps. Enable it for your browser or file manager. Android requires this for any APK installed outside of Google Play.
Open the Downloaded File
Open your Downloads folder (or tap the notification), find the Minecraft APK, and tap it to start the installer.
Confirm Installation
Tap Install and wait for the process to complete. If you see a “signature conflict” error, uninstall your existing Minecraft version first, then retry.
Launch and Sign In with Xbox Live
Open Minecraft, sign in with your Microsoft/Xbox Live account to access multiplayer, Realms, and cross-platform features.
-
 Guides7 years ago
6 Proven Ways to Get more Instagram Likes on your Business Account
-
Mainstream12 years ago
BioWare: Mass Effect 4 to Benefit From Dropping Last-Gen, Will Not Share Template With Dragon Age: Inquisition
-
 Mainstream8 years ago
How to Buy Property & Safe Houses in GTA 5 (Grand Theft Auto 5)
-

 Guides2 years ago
Free Fire vs PUBG: Comparing Graphics, Gameplay, and More
-

 Guides2 years ago
50+ Free Fire ID and Passwords Login List (Giveaway) 2025
-
 Casual3 years ago
8 Ways to Fix Over-Extrusion and Under-Extrusion in 3D Printing
-

 Other2 years ago
Ajjubhai UID: Free Fire Details & Earnings
-

 Features2 years ago
Exploring Valorant eSports Stats: Unveiling the Metrics Behind Competitive Excellence