
Guides
The Ultimate Destiny Child Guide for Beginners 2021

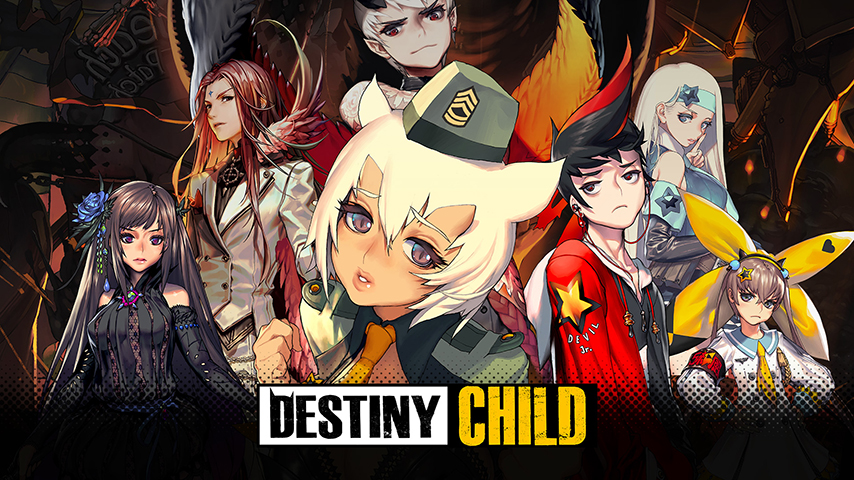
Destiny Child is an addictive RPG game that offers marvelous gameplay that comes with several interesting facets. You get versatile battle modes, challenges, a complex progression system, and so on. So, beginners might have a bit of a problem trying to level up and enhance the children in the game.
This game is so enjoyable and confusing at the same time. Hence, to make the experience easier for you, we have curated a Destiny Child guide to clear your doubts about the game. Scroll along to know everything you need to know to begin with the game.
Childs in Destiny Child
Let’s talk about the “childs” first! Destiny Child uses the term “childs” and not children. These are the main characters or heroes that you have to collect in the game. And your goal is to upgrade and strengthen them.
Child Type
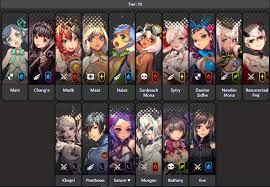
Now, let’s get to know about the child types in the game. There are 5 different child types and given below are the roles of every child in any battle:
Attacker: inflicts the most damage
Supporter: provides strength to the team
Debuffer: Massively curses the enemies
Defender: Soaks up the most amount of damage
Healer: Heals the squad
Keep in mind that you can play in a team of 5 childs. And so, the most effective way to do the same is by having one child of each type. But, you can always mix things up as per your situation.
Child Leveling
You can level a child in two major methods:
XP Blobs
The first way is via the combine option wherein you need to feed the blobs to the child. If the blob fed and the child is of the same type, then you’ll get a small amount of XP boost. But, if you feed a blob of wrong or different type, then the XP earned will be somewhat lower.
So, you should feed whatever you can to the child. This can be done by clicking on the blob one by one. Or, you can also input the blobs all at once by clicking Auto. Then, just click on combine to increase your level. Through this, you might also get an opportunity to gain some bonus XP.
Story Missions
The second way to level up is by taking part in story missions. Some of the best locations to execute the same is the world four’s levels or the most difficult level of the world six. You need to play these missions again and again by tapping repeat
So, you should be checking when any child attains a max level and then stop replaying that very level. Otherwise, your stamina would be going in vain. Also, it’s recommended that you play in a team that is already at its maximum possible level.
This ensures that the team will survive till the very end. All stages of the levels will drop exciting items like armor, weapons, etc. And what you want from the drop can be decided based on the enemy you are fighting.
Child Skills
Next, you need to know about skills. And raising your skills’ ranks becomes all the more important when you are playing the global version of Destiny Child. You just need Onyx to level Skills after which you have to click a yellow button to level up. The max rank level could go up to 10. As you keep attaining higher levels, the Onyx costs will keep increasing.
Child Awakening
After you have reached the highest skills rank, you will be able to awaken. This means that you will be able to unlock certain nodes. Now, if you choose to unlock them, then the Onyx will increase which in turn will increase your stats.
Child Evolution
Another concept to know about in the Destiny Child Guide is evolution. Firstly, if you want to evolve a child, then you have to reach the max level. Once your child does attain the max level i.e. 40, then you should start collecting materials required for evolution.
Also, you need the same number of stars as you already have. If you have three stars, then you need another three stars. Or if you have four stars, then collect four more stars. Once you have collected them, click on evolve.
But, you need to have even more evolution materials. These can be procured via the daily dungeons. Another way to do the same is via the Ragna shop from where you can buy evolution materials in exchange for Ragna coins. Moreover, you can also upgrade these to attain higher quality.
Now, finally, click on evolve and that will raise the star rating of the child chosen and also cost you some gold.
Child Uncapping
The next important thing we want to talk about in this destiny child guide is uncapping. If you want to uncap any unit, you should have extra copies of that unit. For uncapping, just click on the cap button which will increment the plus symbol adjacent to the level.
Hence, if you uncap once, then the unit will get a plus one and if you uncap twice, the unit will get a plus two.
Equipment
This is yet another way to strengthen a child. You will find the slots for equipment in the bottom corner. And you need to ensure that the child you’re playing with has been equipped with something from all these slots.
There are four slots you’ll find and these include weapon, armor, accessory, and the Soul Carta slots. Out of these, the accessory slot can be unlocked with the S Class Awakening. And the Soul Carta can be unlocked when your child reaches 100% Awakening.
Conclusion
These were all the basic details about childs and the child menu options that you need to know. Hopefully, you’ve understood all the things mentioned in this Destiny Child guide. Once you’re done with the same, you can move forward to understand battle modes, shops, raids, bosses, and so on.

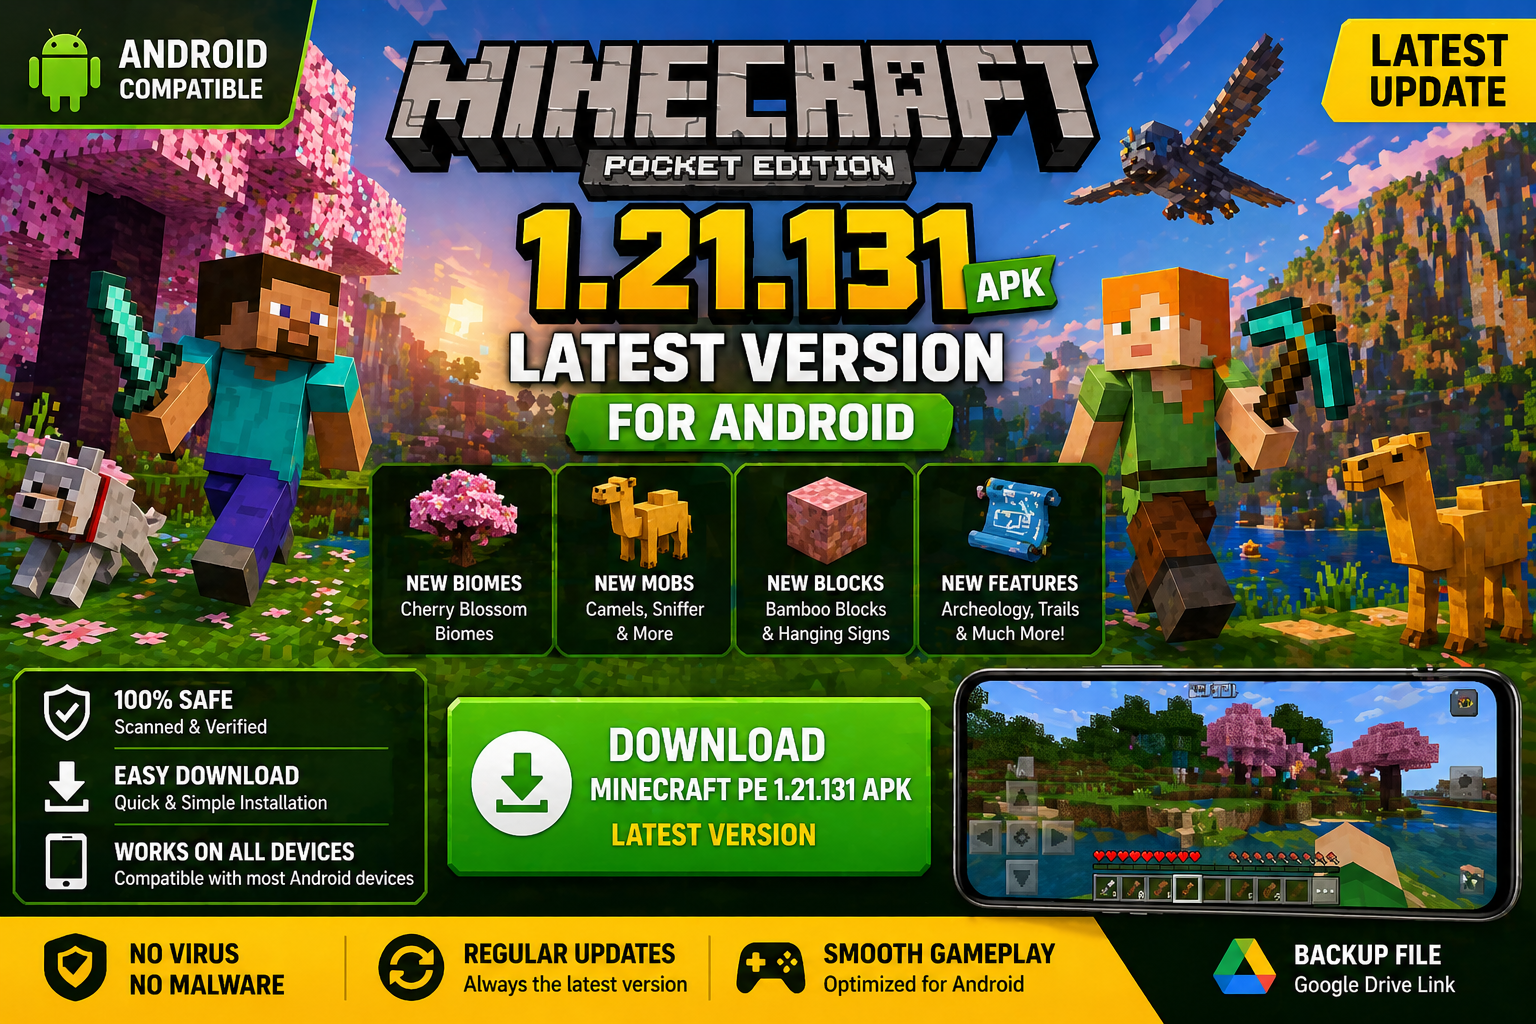
Download Minecraft PE 1.21.131 APK for Android
Minecraft Bedrock 1.21.131 is a focused hotfix update — improved Spear combat, two important bug fixes, and better overall stability on Android. No new content, but a noticeably smoother experience.
Spear Knockback Improvement
The window during which a charged Spear attack can apply knockback has been extended. This makes combat feel more reliable — the attack now connects as expected without requiring pinpoint timing, especially useful when fighting multiple mobs at once.
Spear Animation Alignment
Charge attack animations now accurately sync with the Spear’s three gameplay phases: Engaged, Tired, and Disengaged. What you see on screen now matches what the game engine is actually doing — making combat more readable and reducing guesswork in fights.
Performance & Stability
Frame drops on mid-range Android hardware have been reduced. Memory handling improvements prevent sudden freezes during long play sessions. World loading and chunk generation are more reliable, reducing terrain “pop-in” when exploring or moving quickly.
Multiplayer Improvements
Backend updates improve session stability when players join or leave. Fewer disconnects and smoother synchronisation across Bedrock servers. Marketplace content and add-ons also load more consistently during multiplayer sessions.
Adventuring Time Achievement Fixed — The achievement no longer unlocks early. It now correctly requires visiting at least 17 biomes on PC, matching the intended design.
Marketplace Escape Key Fixed — Pressing Escape after using the Marketplace search now reliably returns players to the previous menu instead of getting stuck in a loop.
Add-on World Loading Fixed — A bug that triggered a “Block” error when loading or creating worlds with multiple add-ons installed has been resolved.
Download the APK
Tap one of the Download buttons above. Choose the Standard (no music) version if storage is limited, or the Full version for the complete experience. The ARM64 build is recommended for modern phones.
Enable “Install Unknown Apps”
Go to Settings → Security (or Privacy) → Install unknown apps. Enable the permission for your browser or file manager. Android requires this for any APK installed outside Google Play.
Open the APK File
Open your Downloads folder, find the Minecraft 1.21.131 APK, and tap it to launch the system installer. Follow the on-screen prompts.
Install Over Existing Version
In most cases you can install 1.21.131 directly over your existing Minecraft without losing any worlds or progress. If you see a signature conflict error, uninstall first — but back up your worlds beforehand.
Launch and Sign In
Open Minecraft, sign in with your Microsoft/Xbox Live account, and your existing worlds will load normally. Online multiplayer, Realms, and Marketplace content all work as before.
Download Minecraft PE 1.20 APK for Android
Get the full Minecraft Bedrock 1.20 (Trails and Tales) APK for Android. Supports Xbox Live sign-in. Multiple versions available — stable releases and preview builds.
Download the APK File
Tap the Download button above for the version you want. The APK file will save to your device’s Downloads folder.
Enable “Install Unknown Apps”
Go to Settings → Security or Privacy → Install unknown apps. Enable it for your browser or file manager. Android requires this for any APK installed outside of Google Play.
Open the Downloaded File
Open your Downloads folder (or tap the notification), find the Minecraft APK, and tap it to start the installer.
Confirm Installation
Tap Install and wait for the process to complete. If you see a “signature conflict” error, uninstall your existing Minecraft version first, then retry.
Launch and Sign In with Xbox Live
Open Minecraft, sign in with your Microsoft/Xbox Live account to access multiplayer, Realms, and cross-platform features.
-
 Guides6 years ago
6 Proven Ways to Get more Instagram Likes on your Business Account
-
Mainstream12 years ago
BioWare: Mass Effect 4 to Benefit From Dropping Last-Gen, Will Not Share Template With Dragon Age: Inquisition
-
 Mainstream8 years ago
How to Buy Property & Safe Houses in GTA 5 (Grand Theft Auto 5)
-

 Guides2 years ago
Free Fire vs PUBG: Comparing Graphics, Gameplay, and More
-

 Guides2 years ago
50+ Free Fire ID and Passwords Login List (Giveaway) 2025
-
 Casual3 years ago
8 Ways to Fix Over-Extrusion and Under-Extrusion in 3D Printing
-

 Other2 years ago
Ajjubhai UID: Free Fire Details & Earnings
-

 Features2 years ago
Exploring Valorant eSports Stats: Unveiling the Metrics Behind Competitive Excellence