
Guides
Guild Wars 2 Weaponsmith Leveling Guide 0-400


Key Points:
- Weaponsmithing lets you craft melee weapons for all classes, helping you gear up or earn gold efficiently.
- Leveling from 0 to 400 involves crafting and discovery, using materials like wood, ore, inscriptions, and sigils.
- Smart planning, material gathering, and diverse crafting recipes make the journey to master Weaponsmith smooth and cost-effective.
Introduction
Weaponsmithing is one of the primary crafting professions in Guild Wars 2. It allows you to craft melee weapons used by many classes, which is perfect if you want to gear up your characters or make gold by selling gear to other players. Here, we’ll walk you through leveling the skill from 0 to 400, step-by-step, while keeping it fast, simple, and beginner-friendly.
What Is Weaponsmithing in GW2?

Weaponsmithing is a crafting discipline that lets you create melee weapons. These weapons are used by almost every profession in the game. With Weaponsmithing, you can make:
- Axes
- Daggers
- Greatswords
- Hammers
- Maces
- Shields
- Spears
- Swords
To unlock the profession, you’ll need to visit a Weaponsmithing Trainer (found in major cities like Lion’s Arch, Divinity’s Reach, Hoelbrak, etc.). You can have two crafting disciplines active simultaneously, but switch between them later for a small fee.
Weaponsmithing is excellent for making powerful gear, leveling alts, or selling weapons on the Trading Post.
Also Read: Can You Play Elden Ring Offline? | Everything a Tarnished Needs to Know
Before You Start: Things You’ll Need
Crafting takes time and resources, so it’s smart to prepare a few things before starting:
- A character (Level 80 is ideal, but not required)
- A few gold coins (you’ll need to buy ingredients)
- Access to a bank and the Trading Post
- Salvage kits to break down unwanted gear
- Lots of bag space (crafting fills up your inventory fast)
You can gather materials while playing or buy them directly for faster leveling. Either way, planning ahead is good so you don’t get stuck.

Total Materials Needed (0–400)
Here’s a list of materials you’ll need from the start to level 400. Most of them can be gathered or bought from the Trading Post.
From Weaponsmith Vendor:
- 171 Lump of Coal
- 90 Lump of Primordium
From Trading Post / Gathering:
- 144 Green Wood Logs
- 72 Soft Wood Logs
- 54 Seasoned Wood Logs
- 162 Hard Wood Logs
- 240 Elder Wood Logs
- 796 Iron Ore
- 180 Platinum Ore
- 256 Mithril Ore
- 72 Claws
- 18 Pile of Shimmering Dust
- 72 Small Venom Sacs
- 2 Crystal Shards
- 8 Molten Cores
- 16 Molten Shards
- 13 Onyx Fragments
Special Components:
- 24 Bronze Axe Blade
- 27 Bronze Spear Head
- 27 Large Green Haft
- 13 Carrion Mithril Plated Inscription
- 27 Berserker’s Hard Inscription
- 13 Malign Bronze Plated Inscription
- 11 Malign Green Inscription
- 27 Rampager’s Elder Inscription
- 27 Rejuvenating Seasoned Inscription
- 27 Resilient Green Inscription
These numbers are optimized to help you level fast while using as few materials as possible.
Also Read: Is The Forest Cross-Platform?
How Leveling Works
Weaponsmithing XP comes mostly from Crafting and Discovery. Discovery gives more XP, especially when creating something for the first time. To use Discovery, combine base components (like sword blades, hilts, and inscriptions) in the discovery tab at a crafting station.
Level 0–75: Start With Bronze
Materials:
- Bronze Ingots (made from Copper + Tin)
- Green Wood Planks
- Small Green Hafts
- Malign Inscriptions
What to Craft:
- Make 48 Green Wood Planks
- Craft 24 Small Green Hafts
- In Discovery, combine:
- Bronze Axe Blade + Small Green Haft + Malign Green Inscription = Malign Bronze Axe
- Make 10 Malign Bronze Axes
- Discover Resilient Bronze Spear
- Craft 26 Resilient Bronze Spears
- Discover (Master) Malign Bronze Axe (uses Plated Inscription)
- Make 12 of those
You’ll reach level 75 quickly by mixing different weapon types and using discovery.
Level 75–150: Move to Iron
Materials:
- 94 Iron Ingots
- 18 Soft Wood Planks
- Iron Shield Parts (Boss and Backing)
- Inscription materials
- Onyx Fragments + Dust
What to Craft:
- Make 9 Iron Shield Backings and 9 Iron Shield Bosses
- Discover and craft Simple Sharpening Stones
- Discover and make a Minor Sigil of Strength
- Make 9 Iron Plated Dowels
- Craft 9 Ravaging Iron Inscriptions
- Discover and craft (Master) Ravaging Iron Shield
- Make 8 of those
You’ll now be halfway through T2 crafting.
Also Read: Is PUBG Cross Platform? [PC, Xbox One, PS4, And Mobiles]
Level 150–225: Steel Weapons
Materials:
- 171 Steel Ingots (Iron + Coal)
- 18 Seasoned Wood Planks
- Steel Shield Parts
- Pillaging and Rejuvenating Inscriptions
What to Craft:
- Make 36 Steel Shield Bosses and 36 Backings
- Discover and make Rejuvenating Steel Shield (26 total)
- Make 9 Steel Plated Dowels
- Create 9 Pillaging Inscriptions
- Discover and craft (Master) Hunter’s Steel Shield (8 total)
You’ll reach 225 and be ready for high-level materials.
Level 225–300: Craft With Darksteel

Materials:
- 90 Darksteel Ingots (requires Iron + Mithril + Primordium)
- 54 Hardwood Planks
- 27 Spear Heads
- Large Hafts
- Crystal Shards and Molten Shards
What to Craft:
- Make 27 Darksteel Spear Heads and 27 Large Hard Hafts
- Discover the Major Sigil of Sanctuary
- Discover and craft Berserker’s Darksteel Spear (26 total)
- Discover and craft Major Sigil of Doom (7 total)
After this, you’ll reach level 300.
Level 300–400: Final Stretch With Mithril
Materials:
- 128 Mithril Ingots
- 80 Elder Wood Planks
- 40 Large Elder Hafts
- 13 Mithril Hammer Heads
- 27 Mithril Spear Heads
- Rampager’s, Carrion Inscriptions
- Molten Core
What to Craft:
- Craft 27 Mithril Spear Heads + 40 Large Elder Hafts
- Discover and craft Rampager’s Mithril Spear (26 total)
- Discover and craft the Carrion Mithril Hammer (12 total)
- Make 7 Major Sigils of Doom (Mithril + Molten Core)
Congratulations! You’re now a level 400 Weaponsmith!
What’s Next After 400?
After hitting level 400, you unlock the ability to:
- Craft exotic weapons
- Level up to 500 for ascended gear
- Do daily crafting for profit
- Make legendary components
You can also craft high-level gear for your other characters or sell them for gold.
Final Tips
- Use Discovery Often – It gives more XP than plain crafting.
- Salvage Gear You Don’t Need – This contains inscriptions, dust, and sigil parts.
- Don’t Overcraft One Item – Variety saves materials and gives better XP.
- Watch the Trading Post – Prices fluctuate, buy mats when they’re cheap.
- Craft Boosters – Use them during festivals or XP events for extra gains.
Also Read: Is DayZ Crossplay? Everything You Need to Know
Conclusion
This GW2 weaponsmith guide gives you everything you need to level from 0 to 400 quickly and with fewer wasted materials. You’ve learned what Weaponsmithing is, what materials are required, and how to optimize your journey through each crafting tier.
Whether you’re here to make gear, earn gold, or complete your crafting journal, you’re now well-equipped to start your adventure as a master Weaponsmith in Tyria.
Good luck—and happy forging!

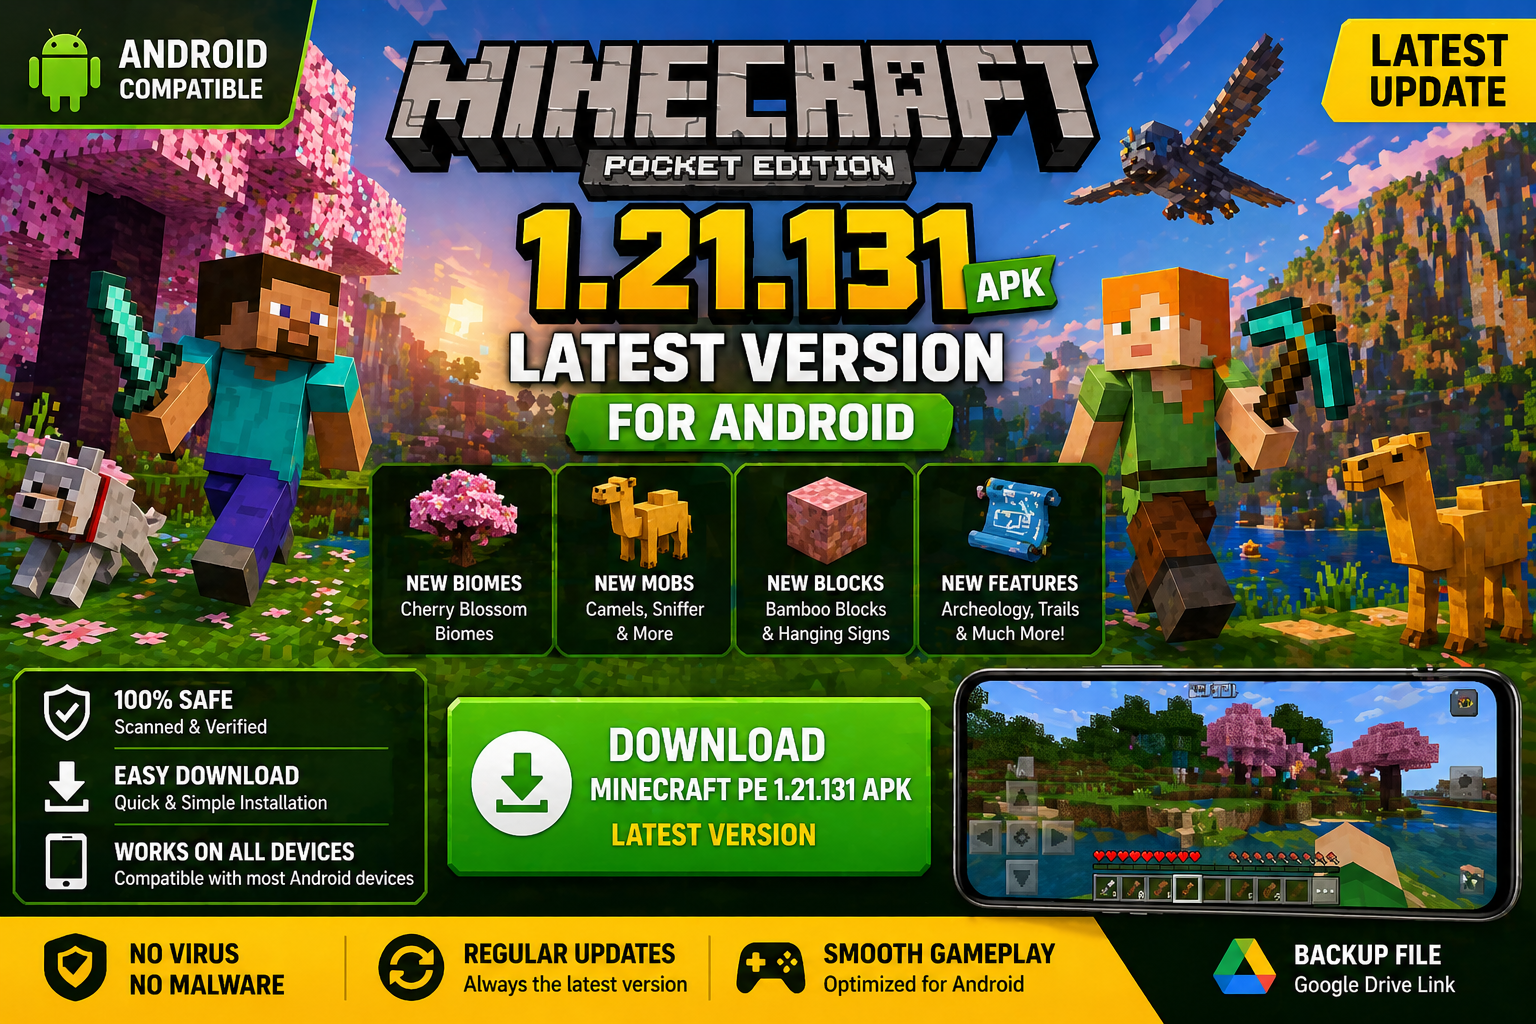
Download Minecraft PE 1.21.131 APK for Android
Minecraft Bedrock 1.21.131 is a focused hotfix update — improved Spear combat, two important bug fixes, and better overall stability on Android. No new content, but a noticeably smoother experience.
Spear Knockback Improvement
The window during which a charged Spear attack can apply knockback has been extended. This makes combat feel more reliable — the attack now connects as expected without requiring pinpoint timing, especially useful when fighting multiple mobs at once.
Spear Animation Alignment
Charge attack animations now accurately sync with the Spear’s three gameplay phases: Engaged, Tired, and Disengaged. What you see on screen now matches what the game engine is actually doing — making combat more readable and reducing guesswork in fights.
Performance & Stability
Frame drops on mid-range Android hardware have been reduced. Memory handling improvements prevent sudden freezes during long play sessions. World loading and chunk generation are more reliable, reducing terrain “pop-in” when exploring or moving quickly.
Multiplayer Improvements
Backend updates improve session stability when players join or leave. Fewer disconnects and smoother synchronisation across Bedrock servers. Marketplace content and add-ons also load more consistently during multiplayer sessions.
Adventuring Time Achievement Fixed — The achievement no longer unlocks early. It now correctly requires visiting at least 17 biomes on PC, matching the intended design.
Marketplace Escape Key Fixed — Pressing Escape after using the Marketplace search now reliably returns players to the previous menu instead of getting stuck in a loop.
Add-on World Loading Fixed — A bug that triggered a “Block” error when loading or creating worlds with multiple add-ons installed has been resolved.
Download the APK
Tap one of the Download buttons above. Choose the Standard (no music) version if storage is limited, or the Full version for the complete experience. The ARM64 build is recommended for modern phones.
Enable “Install Unknown Apps”
Go to Settings → Security (or Privacy) → Install unknown apps. Enable the permission for your browser or file manager. Android requires this for any APK installed outside Google Play.
Open the APK File
Open your Downloads folder, find the Minecraft 1.21.131 APK, and tap it to launch the system installer. Follow the on-screen prompts.
Install Over Existing Version
In most cases you can install 1.21.131 directly over your existing Minecraft without losing any worlds or progress. If you see a signature conflict error, uninstall first — but back up your worlds beforehand.
Launch and Sign In
Open Minecraft, sign in with your Microsoft/Xbox Live account, and your existing worlds will load normally. Online multiplayer, Realms, and Marketplace content all work as before.
Download Minecraft PE 1.20 APK for Android
Get the full Minecraft Bedrock 1.20 (Trails and Tales) APK for Android. Supports Xbox Live sign-in. Multiple versions available — stable releases and preview builds.
Download the APK File
Tap the Download button above for the version you want. The APK file will save to your device’s Downloads folder.
Enable “Install Unknown Apps”
Go to Settings → Security or Privacy → Install unknown apps. Enable it for your browser or file manager. Android requires this for any APK installed outside of Google Play.
Open the Downloaded File
Open your Downloads folder (or tap the notification), find the Minecraft APK, and tap it to start the installer.
Confirm Installation
Tap Install and wait for the process to complete. If you see a “signature conflict” error, uninstall your existing Minecraft version first, then retry.
Launch and Sign In with Xbox Live
Open Minecraft, sign in with your Microsoft/Xbox Live account to access multiplayer, Realms, and cross-platform features.
-
 Guides7 years ago
6 Proven Ways to Get more Instagram Likes on your Business Account
-
Mainstream12 years ago
BioWare: Mass Effect 4 to Benefit From Dropping Last-Gen, Will Not Share Template With Dragon Age: Inquisition
-
 Mainstream8 years ago
How to Buy Property & Safe Houses in GTA 5 (Grand Theft Auto 5)
-

 Guides2 years ago
Free Fire vs PUBG: Comparing Graphics, Gameplay, and More
-

 Guides2 years ago
50+ Free Fire ID and Passwords Login List (Giveaway) 2025
-
 Casual3 years ago
8 Ways to Fix Over-Extrusion and Under-Extrusion in 3D Printing
-

 Other2 years ago
Ajjubhai UID: Free Fire Details & Earnings
-

 Features2 years ago
Exploring Valorant eSports Stats: Unveiling the Metrics Behind Competitive Excellence