
Guides
Jump Throw Bind in CSGO [The Complete Guide]

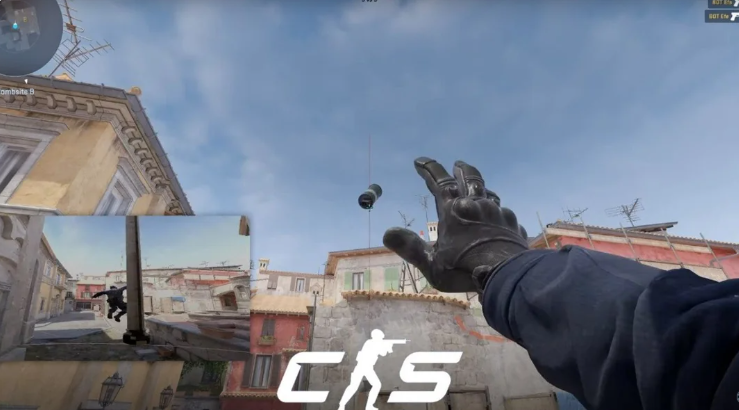
Counter-Strike: Global Offensive (CS:GO) is a game that demands precision and strategy, where split-second decisions can determine the outcome of a round. One advanced technique that players often utilize is the jump throw bind.
In this comprehensive guide, we will deep dive into the concept of jump throw binds, their legality, and provide a step-by-step guide on how to set up and use them effectively in CS:GO.
What are Jump Throw Binds in CS:GO?
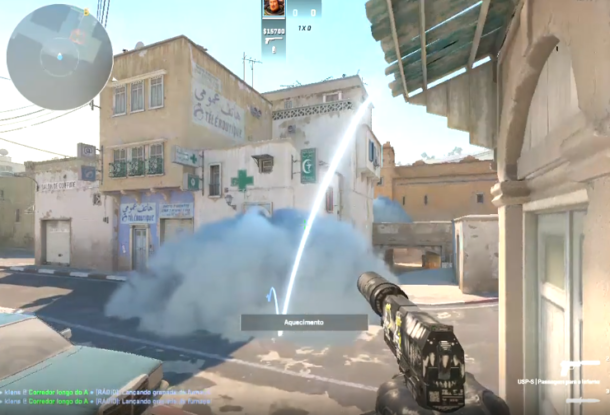
Jump throw binds in CS:GO are custom key bindings that enable players to execute a precise throw while jumping. This technique is particularly useful when executing precise smokes, flashes, or grenades, as it allows players to consistently achieve optimal trajectories. Jump throw binds streamline the process, ensuring that the throw is consistent across various in-game scenarios.
Is Jump Throw Bind Legal?
Before delving into the mechanics of jump throw binds, it’s crucial to address their legality. Jump throw binds fall within the boundaries of acceptable configurations in CS:GO. Valve, the developer of the game, has explicitly stated that customizing key bindings, including jump throw binds, is permissible as long as they do not automate gameplay or provide an unfair advantage. Jump throw binds adhere to these guidelines, making them a legitimate and widely accepted practice among the CS:GO community.
Also Read: Will the New CS:GO Update Make it the Most Popular Game Ever?
How to Set Up a Jump Throw Bind in CS:GO
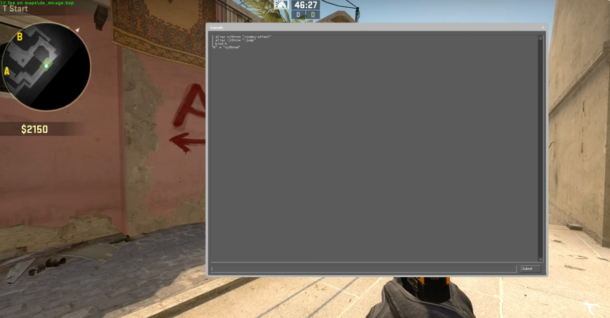
Configuring a jump throw bind involves customizing your in-game settings to assign a specific action to a key or combination of keys. The process may vary depending on your input device, such as a keyboard or mouse.
Keyboard Setup
- Open Console – Press the tilde key (~) to open the console. If the console is not enabled, you can enable it in the game settings.
- Bind Jump Throw – Type the following command in the console:
bind “KEY” “+jump; -attack”
Replace “KEY” with the key you want to use for the jump throw. For example, if you want to use the spacebar, the command would be:
bind “SPACE” “+jump; -attack”
- Save Configuration – To make the bind permanent, you can add the command to your autoexec.cfg file. If you don’t have an autoexec.cfg file, create one in the “\Steam\steamapps\common\Counter-Strike Global Offensive\csgo\cfg” folder.
- Testing – Join a server or start a local game to test the jump throw bind.
Mouse Setup
For a mouse with additional buttons, you can bind the jump throw to one of those buttons.
- Open Console – Press the tilde key (~) to open the console.
- Bind Jump Throw – Type the following command in the console, replacing “MOUSEBUTTON” with the appropriate button number. For example, if you want to use mouse button 4
bind “MOUSE4” “+jump; -attack”
- Save Configuration – As with the keyboard setup, you can add the command to your autoexec.cfg file.
- Testing – Join a server or start a local game to test the jump throw bind.
Remember to replace “KEY” or “MOUSEBUTTON” with the desired key or mouse button. You can experiment with different keys or buttons to find what works best for you. Additionally, some servers may have restrictions or rules regarding certain binds, so be sure to check before using them in competitive play.
Also Read: Are CS:GO Major Stickers A Good Investment?
Popular Methods For Setting Up Jump Throw Binds In CS:GO.
Simple Keybind
Setting up a simple jump throw bind involves assigning the action to a single key. To do this, follow these steps:
- Open the developer console by pressing the tilde key (`) on your keyboard.
- Enter the following command:
bind “KEY” “+jump; -attack; -jump”
Replace “KEY” with your desired key for the jump throw bind.
- Press Enter to apply the changes.
Now, whenever you press the designated key, your character will execute a jump throw. This method is straightforward and allows for quick execution in the heat of the game.
Alias Bind, Autoexec
For a more advanced and flexible setup, players often use an alias bind in their autoexec.cfg file. This method allows for multiple key bindings and a centralized configuration. Follow these steps:
- Locate your autoexec.cfg file, typically found in the “cfg” folder within your CS:GO directory.
- Open the autoexec.cfg file using a text editor.
- Add the following lines:
alias “+jumpthrow” “+jump; -attack”
alias “-jumpthrow” “-jump”
bind “KEY” “+jumpthrow”
Replace “KEY” with your desired key for the jump throw bind.
- Save and close the file.
- Ensure that your autoexec.cfg is executed upon launching the game by adding the following command to your CS:GO launch options:
+exec autoexec.cfg
With this setup, pressing the designated key will trigger the jump throw bind, executing the specified actions seamlessly. Using an autoexec.cfg file allows players to maintain a centralized configuration for all their custom binds.
Also Read: How Does CSGO Matchmaking Work?
How to Use a Jump Throw Bind in CS:GO
Now that you’ve set up your jump throw bind, it’s essential to understand how to use it effectively in different in-game situations. The primary purpose of the jump throw bind is to achieve consistent trajectories for grenades, particularly when executing precise smokes or flashes.
To use the jump throw bind:
- Position your crosshair at the desired location for the throw.
- Press and hold the jump throw bind key.
- While holding the key, release the grenade.
- This sequence ensures that your character jumps and releases the grenade with precision, increasing the reliability of your throws. Practice using the jump throw bind in various spots on different maps to master its application in real-game scenarios.
Also Read: CS:GO Stream Deck Updates And Map Changes
Alternate Way to Use the Jump Throw Bind
While the standard method involves holding down the jump throw bind key, some players prefer an alternate approach for certain throws. By using the “toggle” command, you can create a bind that toggles the jump throw action, allowing for more control over the timing of your throws.
To set up a toggle jump throw bind:
- Open the developer console.
- Enter the following commands:
alias “+jumpthrow” “+jump; -attack”
alias “-jumpthrow” “-jump”
bind “KEY” “toggle +jumpthrow”
Replace “KEY” with your desired key for the toggle jump throw bind.
- Press Enter to apply the changes.
With this setup, each press of the designated key will toggle the jump throw action on or off. This provides flexibility for players who prefer a toggle-based approach to execute precise throws.
Also Read: CS:GO 2 Review – What’s New?
Conclusion
Mastering the jump throw bind in CS:GO can significantly enhance your gameplay, allowing for consistent and accurate grenade throws. Understanding the legality and setting up the bind using either a simple keybind or an alias bind in the autoexec.cfg file provides players with options based on their preferences.
As with any advanced technique in CS:GO, practice is key to perfecting jump throw binds. Spend time refining your throws on various maps and scenarios to increase your effectiveness in competitive matches. By incorporating jump throw binds into your arsenal, you’ll gain a valuable tool for executing strategic plays and gaining an edge over your opponents in the world of Counter-Strike: Global Offensive.

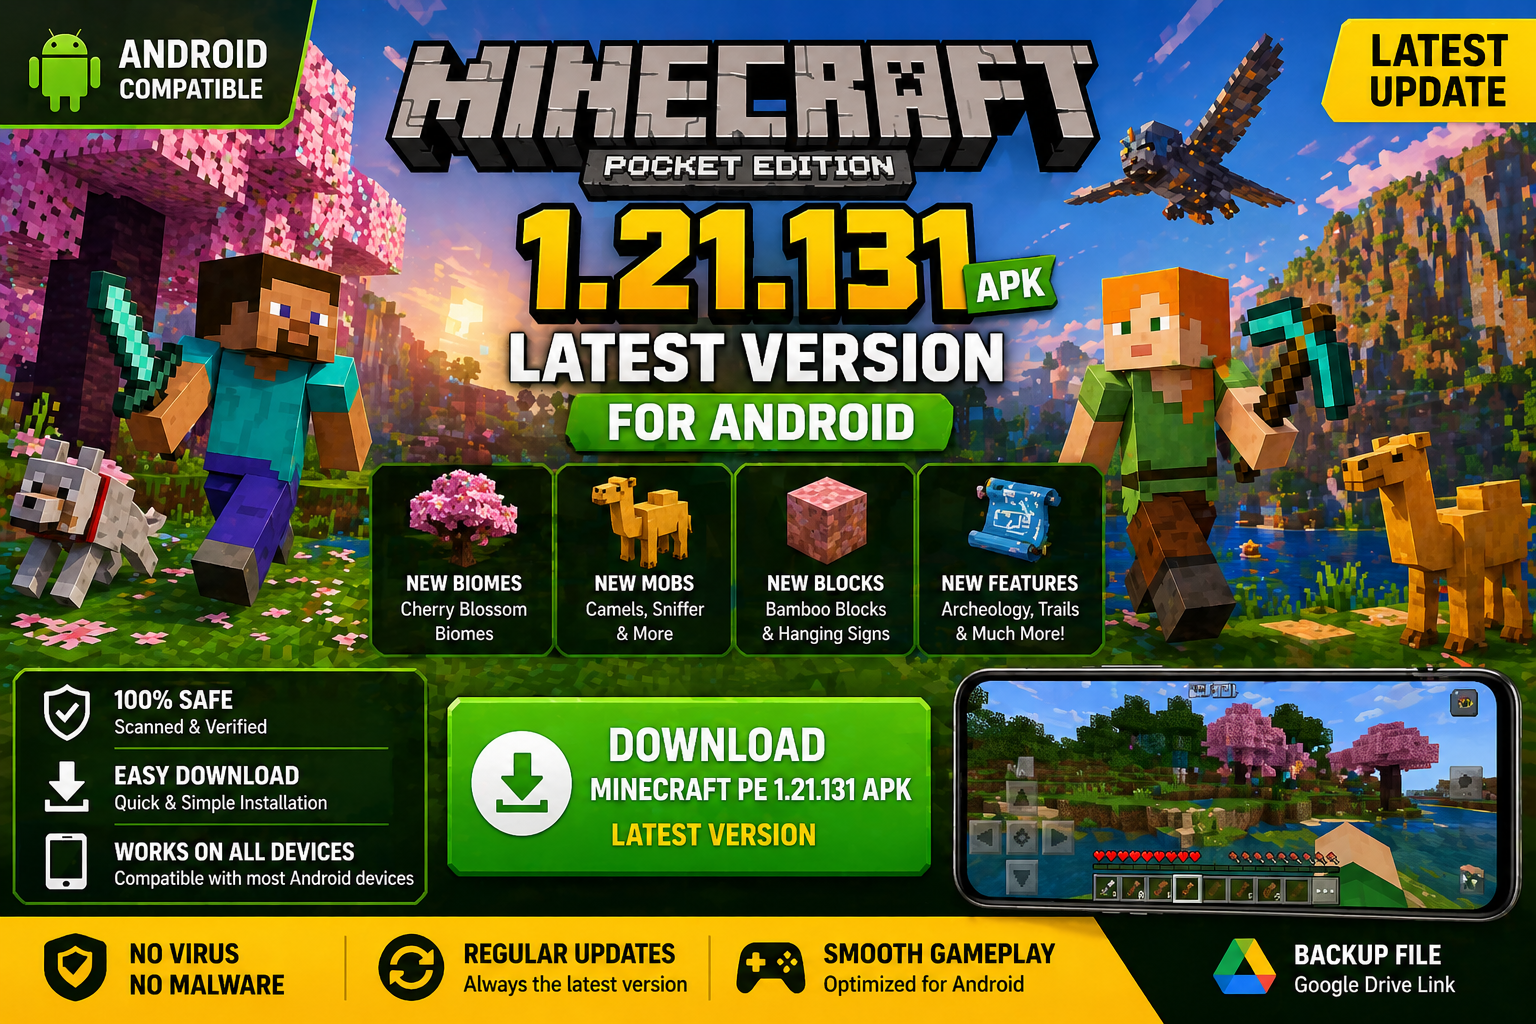
Download Minecraft PE 1.21.131 APK for Android
Minecraft Bedrock 1.21.131 is a focused hotfix update — improved Spear combat, two important bug fixes, and better overall stability on Android. No new content, but a noticeably smoother experience.
Spear Knockback Improvement
The window during which a charged Spear attack can apply knockback has been extended. This makes combat feel more reliable — the attack now connects as expected without requiring pinpoint timing, especially useful when fighting multiple mobs at once.
Spear Animation Alignment
Charge attack animations now accurately sync with the Spear’s three gameplay phases: Engaged, Tired, and Disengaged. What you see on screen now matches what the game engine is actually doing — making combat more readable and reducing guesswork in fights.
Performance & Stability
Frame drops on mid-range Android hardware have been reduced. Memory handling improvements prevent sudden freezes during long play sessions. World loading and chunk generation are more reliable, reducing terrain “pop-in” when exploring or moving quickly.
Multiplayer Improvements
Backend updates improve session stability when players join or leave. Fewer disconnects and smoother synchronisation across Bedrock servers. Marketplace content and add-ons also load more consistently during multiplayer sessions.
Adventuring Time Achievement Fixed — The achievement no longer unlocks early. It now correctly requires visiting at least 17 biomes on PC, matching the intended design.
Marketplace Escape Key Fixed — Pressing Escape after using the Marketplace search now reliably returns players to the previous menu instead of getting stuck in a loop.
Add-on World Loading Fixed — A bug that triggered a “Block” error when loading or creating worlds with multiple add-ons installed has been resolved.
Download the APK
Tap one of the Download buttons above. Choose the Standard (no music) version if storage is limited, or the Full version for the complete experience. The ARM64 build is recommended for modern phones.
Enable “Install Unknown Apps”
Go to Settings → Security (or Privacy) → Install unknown apps. Enable the permission for your browser or file manager. Android requires this for any APK installed outside Google Play.
Open the APK File
Open your Downloads folder, find the Minecraft 1.21.131 APK, and tap it to launch the system installer. Follow the on-screen prompts.
Install Over Existing Version
In most cases you can install 1.21.131 directly over your existing Minecraft without losing any worlds or progress. If you see a signature conflict error, uninstall first — but back up your worlds beforehand.
Launch and Sign In
Open Minecraft, sign in with your Microsoft/Xbox Live account, and your existing worlds will load normally. Online multiplayer, Realms, and Marketplace content all work as before.
Download Minecraft PE 1.20 APK for Android
Get the full Minecraft Bedrock 1.20 (Trails and Tales) APK for Android. Supports Xbox Live sign-in. Multiple versions available — stable releases and preview builds.
Download the APK File
Tap the Download button above for the version you want. The APK file will save to your device’s Downloads folder.
Enable “Install Unknown Apps”
Go to Settings → Security or Privacy → Install unknown apps. Enable it for your browser or file manager. Android requires this for any APK installed outside of Google Play.
Open the Downloaded File
Open your Downloads folder (or tap the notification), find the Minecraft APK, and tap it to start the installer.
Confirm Installation
Tap Install and wait for the process to complete. If you see a “signature conflict” error, uninstall your existing Minecraft version first, then retry.
Launch and Sign In with Xbox Live
Open Minecraft, sign in with your Microsoft/Xbox Live account to access multiplayer, Realms, and cross-platform features.
-
 Guides6 years ago
6 Proven Ways to Get more Instagram Likes on your Business Account
-
Mainstream12 years ago
BioWare: Mass Effect 4 to Benefit From Dropping Last-Gen, Will Not Share Template With Dragon Age: Inquisition
-
 Mainstream8 years ago
How to Buy Property & Safe Houses in GTA 5 (Grand Theft Auto 5)
-

 Guides2 years ago
Free Fire vs PUBG: Comparing Graphics, Gameplay, and More
-

 Guides2 years ago
50+ Free Fire ID and Passwords Login List (Giveaway) 2025
-
 Casual3 years ago
8 Ways to Fix Over-Extrusion and Under-Extrusion in 3D Printing
-

 Other2 years ago
Ajjubhai UID: Free Fire Details & Earnings
-

 Features2 years ago
Exploring Valorant eSports Stats: Unveiling the Metrics Behind Competitive Excellence