Video Games
200+ Badass Gamertag Names for Every Type of Gamer
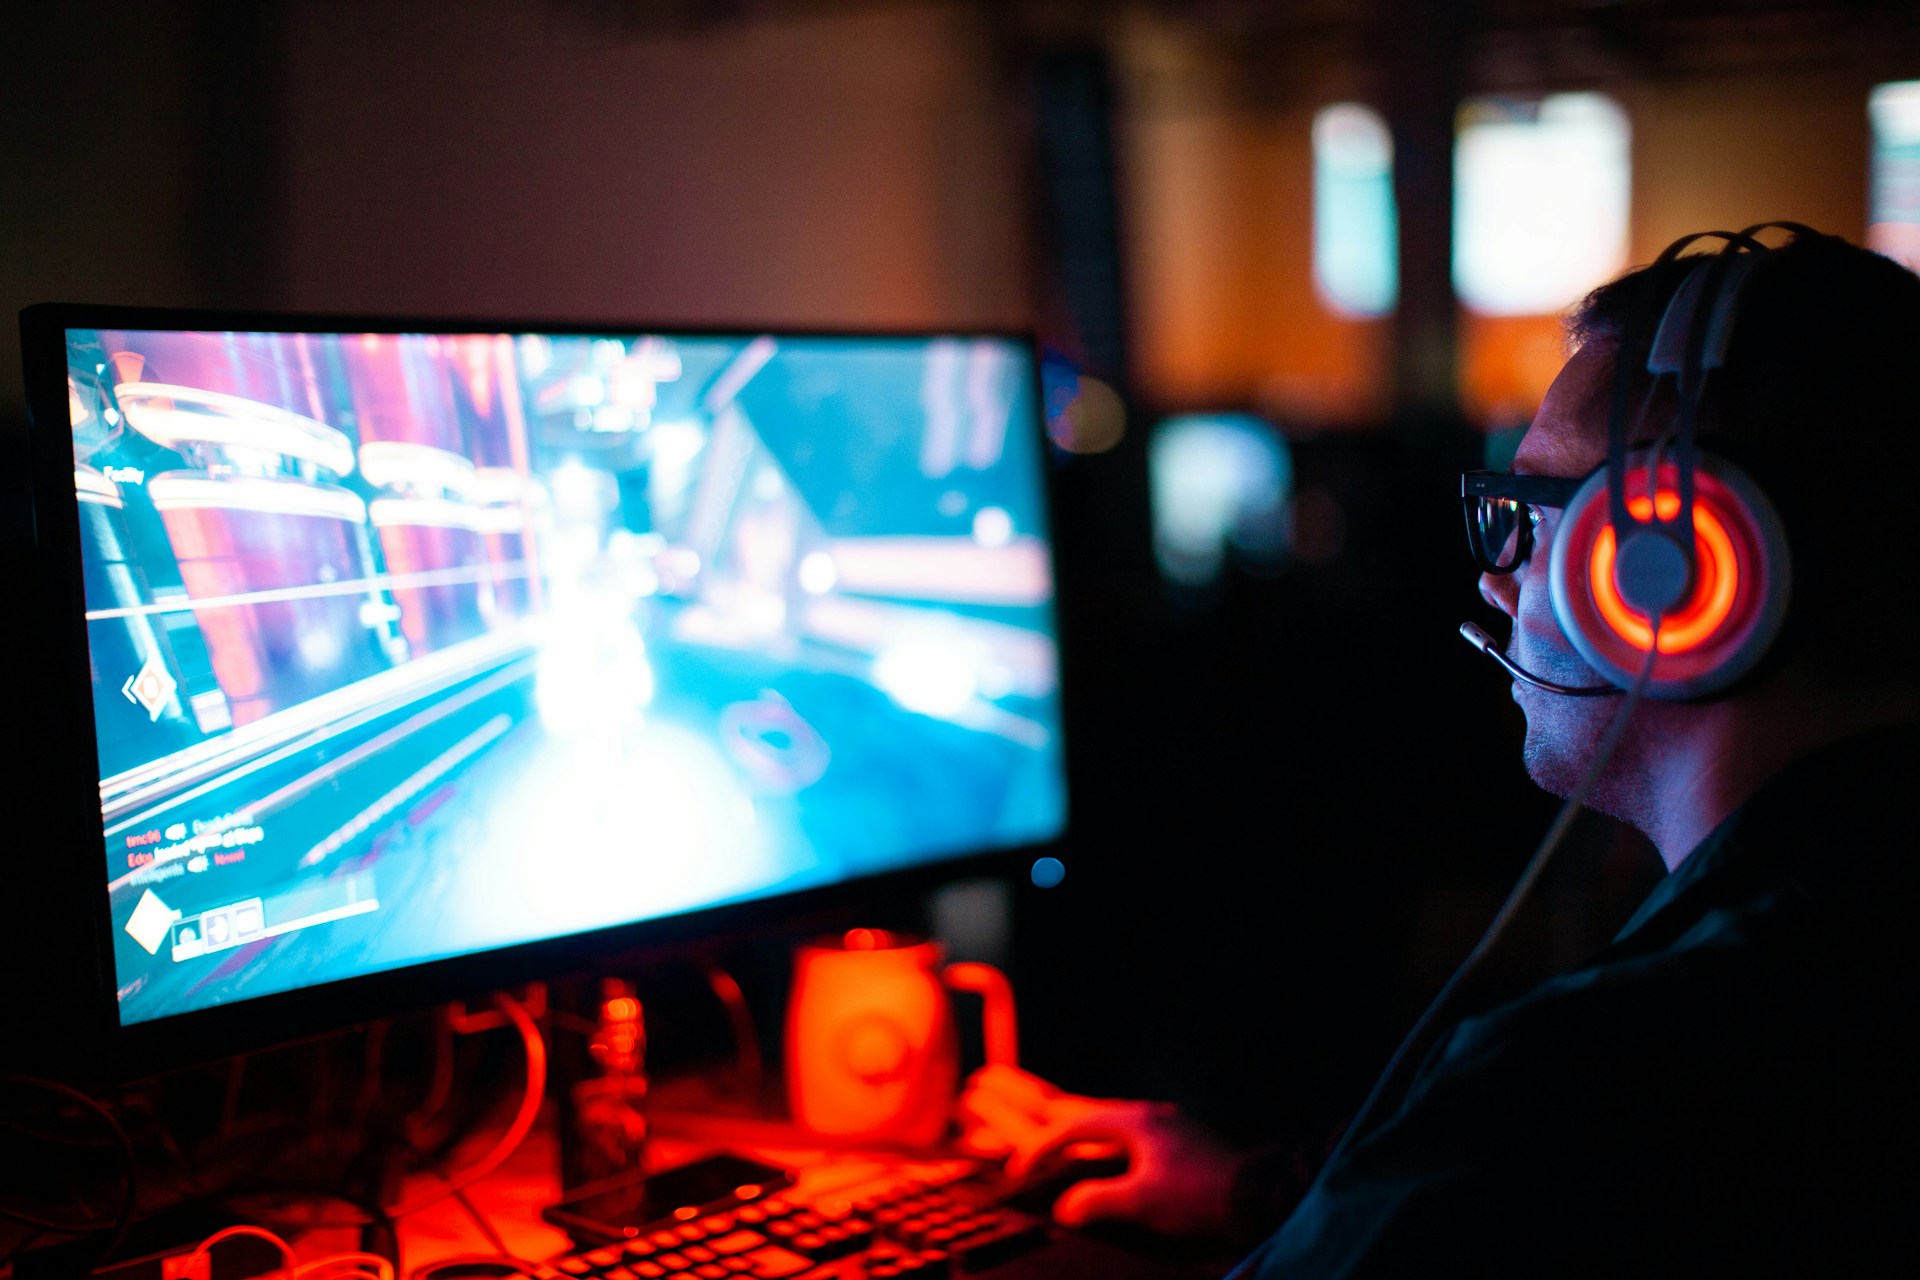
Choosing the perfect gamertag is a crucial part of establishing your online identity in the gaming world. A great gamertag can set the tone for your gaming persona and make you stand out among the crowd. If you want a classic, futuristic, mythical, or tough name, here is a list of over 200 badass gamertags. It will inspire your next gaming alias.
Classic Badass Gamertags

- Vortex Rider 🌪️🛡️
- Shadow Fury 🌑💥
- Night Stalker 🌙🕵️
- Inferno Beast 🔥🐾
- Storm Breaker ⛈️🔨
- Silent Predator 🤫🐍
- Raging Phantom 🌩️👻
- Iron Clad Warrior 🛡️⚔️
- Dark Assassin 🌌🔪
- Blaze Master 🔥🎓
- Steel Vortex 🌀🔩
- Lethal Strike 💀🔫
- Fury Knight ⚔️🔥
- Venomous Edge 🐍🔪
- Warrior King 👑⚔️
- Mystic Rage ✨😡
- Thunder Bolt ⚡🔩
- Savage Blade 🗡️💢
- Raptor Claw 🦖✋
- Brutal Force 💪👊
Futuristic and Sci-Fi Gamertags
- Quantum X ⚛️❌
- Neon Ninja 🌟🥷
- Cyber Viper 🤖🐍
- Galactic Storm 🌌⛈️
- Techno Titan 🤖🦸
- StarFury ⭐🔥
- Plasma Strike ⚡🔬
- Zero Gravity 0️⃣🌌
- Photon Hunter 💡🔫
- Nebula Rider 🌌🏍️
- Nano Blade ⚔️🔬
- Galactic Phantom 🌌👻
- HyperNova 🌠🚀
- Electro Knight ⚡⚔️
- Stellar Fury ⭐🔥
- Circuit Ranger ⚡🛡️
- Xeno Warrior 👽⚔️
- Void Hunter 🌌🔍
- Solar Flare ☀️🔥
- Omega Strike 🔵🔫
Also Read: 200+ Creative & Catchy Name For Free Fire: Stand Out In The Game
Mythical and Fantasy Gamertags
- Dragon Sovereign 🐉👑
- Mystic Sorcerer ✨🧙♂️
- Phoenix Flare 🔥🦅
- Eternal Knight 🛡️⚔️
- Frost Giant ❄️🧑🔧
- Valkyrie Queen 🏆🗡️
- Shadow Warlock 🌑🧙♂️
- Celestial Mage 🌠🧙♂️
- Gorgon Fury 🐍💥
- Griffin Lord 🦅👑
- Elven Druid 🌳🧝
- Titan Sorcerer 🧙♂️💪
- Giant Slayer 🗡️🧟
- Arcane Warrior ✨⚔️
- Ancient Dragon 🐲🏛️
- Runic Mage 🔮🧙♂️
- Fae Guardian 🧚♀️🛡️
- Wyrm Master 🐉🎓
- Lunar Phoenix 🌕🦅
- Spectral Knight 👻⚔️
Tough and Aggressive Gamertags
- War Machine 🤖🔩
- Iron Fist ✊🛡️
- Death Dealer 💀🔫
- Rage Warrior 😡⚔️
- Blood Thirst 💉🩸
- Doom Bringer 🔥💣
- Venom Strike 🐍🔪
- Savage Hunter 🦁🔍
- Chaos Ruler 🌪️👑
- Grim Reaper 💀🪦
- Brutal Assassin 🗡️😈
- Ravager 💥😈
- Iron Claw 🦾🔨
- Blitz Crusher ⚡🪓
- Warpath ⚔️🛤️
- Steel Wraith 🏅👻
- Feral Beast 🐺💥
- Dark Berserker 🌑⚔️
- Ruthless Avenger 😠⚔️
- Rage Rider 😡🏍️
Stealth and Sneaky Gamertags
- Silent Ghost 🤫👻
- Shadow Ninja 🌑🥷
- Cunning Rogue 🧠🗡️
- Stealth Assassin 🗡️🤫
- Phantom Silence 👻🤫
- Viper Shadow 🐍🌑
- Dark Specter 🌑👻
- Whispering Blade 🤫🗡️
- Ghost Walker 👻🚶
- Eclipse Ranger 🌒🛡️
- Midnight Prowler 🌙🕵️
- Hush Blade 🤫🗡️
- Veiled Hunter 🕵️♂️🌫️
- Shade Stalker 🌫️🔍
- Silent Strike 🤫🔪
- Phantom Viper 👻🐍
- Ghost Ninja 👻🥷
- Stealthy Wraith 🤫👻
- Nocturnal Rogue 🌙🗡️
- Cloaked Avenger 🕵️♂️🛡️
Also Read: 300+ Best Female Gamer Names To Use In 2024
High-Energy and Exciting Gamertags
- Blitzkrieg ⚡💣
- Voltage Surge ⚡🌩️
- Turbo Rocket 🚀💨
- Thrill Seeker 🎢🔍
- Riot Blaster 🎉🔫
- Inferno Bolt 🔥⚡
- Mega Shock ⚡💥
- Lightning Strike ⚡🔪
- Rapid Fury ⚡😡
- Hyper Nova 🌠💨
- Quantum Blitz ⚛️⚡
- Shockwave 🌊⚡
- Electro Surge ⚡🔋
- Storm Rider ⛈️🏍️
- Blaze Fury 🔥😡
- Speed Demon 🏎️😈
- Thunder Clap ⚡👏
- Blazing Comet 🌠🔥
- Rage Storm 😡🌩️
- Vortex Blast 🌀💥
Legendary and Heroic Gamertags
- Epic Legend 🌟📜
- Heroic Valor 🦸♂️🏆
- Mythic Champion 🏅📜
- Legendary Knight 🛡️🗡️
- Titan Guardian 🏛️🛡️
- Noble Crusader 🏅⚔️
- Heroic Phoenix 🦅🔥
- Legend Slayer 📜🗡️
- Valor Knight 🏅⚔️
- Majestic Warrior 👑⚔️
- Epic Guardian 🌟🛡️
- Legendary Hero 📜🦸♂️
- Supreme Savior 👑🦸♂️
- Mythic Warrior 🏅⚔️
- Eternal Legend 🌟📜
- Valor Champion 🏅🏆
- Heroic Conqueror 🦸♂️🏆
- Celestial Hero 🌠🦸♂️
- Grand Master 🏆🎓
- Fabled Knight 📜⚔️
Dark and Mysterious Gamertags

- Obsidian Soul 🖤👻
- Nocturne Shade 🌑🕶️
- Ebon Specter 🌑👻
- Mystic Reaper ✨💀
- Shadowy Grave 🌑🪦
- Void Master 🌌👑
- Dark Enigma 🌑🔍
- Nether Lord 🌌👑
- Phantom Wraith 👻🌫️
- Grave Dancer 🪦💃
- Cursed Phantom 🧙♂️👻
- Gloom Stalker 🌫️👣
- Raven Specter 🦅👻
- Eclipse Wraith 🌒👻
- Shadow Lurker 🌑🕵️
- Dread Soul 😱👻
- Nightmare King 😱👑
- Veil Of Darkness 🌑🌫️
- Sinister Shade 😈🕶️
- Grim Shade 💀🕶️
Tactical and Strategic Gamertags
- Master Strategist 🧠🎯
- Tactical Ace 🎯🃏
- Command Force 🛡️🚀
- Precision Strike 🎯🔫
- Battle Tactician ⚔️🧠
- Warrior Mind 🧠⚔️
- Strategic Strike 🎯⚔️
- Elite Commander 🛡️👑
- Tactical Genius 🧠🎯
- Cunning Master 🧠🧙♂️
- Strategic Maverick 🧠🌟
- Battle Savant ⚔️💡
- Tactical Ranger 🎯🛡️
- Command Elite 🛡️👑
- Strategic Force 🎯💪
- Precision Commander 🎯🛡️
- Elite Strategist 🛡️🧠
- Tactical Minds 🧠🎯
- Battle Mastermind ⚔️🧠
- Command Wizard 🧙♂️🛡️
Also Read: Top 200 Gamer Team Names For Every Type Of Player
Epic and Grand Gamertags
- Majestic Storm 🌩️👑
- Epic Guardian 🌟🛡️
- Grand Warrior 👑⚔️
- Sovereign Legend 👑📜
- Supreme Mighty 👑💪
- Epic Fury 🌟😡
- Grand Champion 👑🏆
- Supreme Titan 🏛️👑
- Legendary Storm 📜⛈️
- Epic Conqueror 🌟🏆
- Sovereign Hero 👑🦸♂️
- Grand Sage 👑📜
- Epic Warrior 🌟⚔️
- Majestic Valor 👑🏅
- Supreme Legend 👑📜
- Grand Tactician 👑🧠
- Epic Sovereign 🌟👑
- Legendary Guardian 📜🛡️
- Supreme Conqueror 👑🏆
- Grand Titan 👑🏛️
Unique and Creative Gamertags
- Nebula Fury 🌌😡
- Quantum Blaze ⚛️🔥
- Vortex Specter 🌀👻
- Aurora Shadow 🌌🕶️
- Lunar Striker 🌕🔪
- Infernal Rage 🔥😡
- Cosmic Fury 🌌🔥
- Zenith Strike 🌠🔫
- Phantom Nova 👻🌠
- Eclipse Storm 🌒⛈️
- Celestial Blaze 🌠🔥
- Astral Fury 🌌😡
- Radiant Phantom 🌟👻
- Lunar Eclipse 🌕🌒
- Nebula Rider 🌌🏍️
- Aurora Vortex 🌌🌀
- Quantum Rage ⚛️😡
- Cosmic Storm 🌌⛈️
- Zenith Nova 🌠🌟
- Stellar Eclipse 🌠🌒
Tips for Creating Your Own Badass Gamertag
The list above has many options. But, a unique gamertag, tailored to your personality, is more rewarding. Here are some tips for crafting your own:
- Combine Words: Mixing different words or themes can create something unique and memorable, like “BlazeNinja” or “VortexStorm.”
- Add Personal Touches: Incorporate elements that reflect your interests, hobbies, or gaming style, such as “DragonMaster” if you’re into fantasy.
- Use Symbols or Numbers: Adding numbers or special characters can make a common name stand out. For example, “ShadowFury7” or “Storm_Breaker.”
- Keep It Simple: A name that’s easy to remember and pronounce often has a greater impact. Avoid overly complex names that might be hard to recall.
- Check Availability: Ensure your chosen gamertag isn’t already in use on your preferred gaming platform. It’s important to have a unique identity.
Conclusion
A memorable impression and a representation of your gaming persona, a badass gamertag is more than just a name. Whether futuristic or old, a good gamertag can improve your gaming experience. It can help you stand out from the crowd. Take inspiration from this long list of more than 200 strong gamertag names, or mix and match components to create your own distinct persona. Game on!
Video Games
Overwatch, Path of Exile, and the In-Game Economy: What Virtual Currency Systems Reveal About Real Money Design

By Daniel K. | Game systems analyst, 7 years covering live-service monetization. Tested July 2026.
There’s a moment in every live-service game where the illusion cracks. You’re staring at a shop screen, doing mental arithmetic, and you realize you have no idea how much this skin actually costs. Not because the number is hidden. It’s right there. But because it’s denominated in something that isn’t money. Overwatch Coins. Path of Exile Orbs. Fortnite V-Bucks. The conversion rate is technically findable, but the friction is the point.
This isn’t an accident. It’s a deliberate design choice with deep psychological roots, and the more you trace it, the more you start to see the same logic operating far outside gaming’s borders.
The Two Models: Blizzard’s Coin Stack vs. GGG’s Barter Economy
Overwatch 2 runs on a straightforward dual-currency model. You earn Overwatch Coins through the battle pass or buy them directly, and you spend them in the shop or on premium battle pass tiers. The conversion rate (roughly 100 Coins to $1 USD) is stable, official, and intentionally awkward. Blizzard doesn’t sell skins at $18.99. They sell 2,000 Coins, and the skin costs 1,900. You’re left with 100 Coins and a gentle psychological nudge to top up.
Path of Exile does something stranger and, honestly, more interesting. Grinding Gear Games ditched gold entirely. There’s no universal currency. Instead, the economy runs on a stack of functional items. Chaos Orbs, Exalted Orbs, Divine Orbs. That players use to re-roll item modifiers. They’re tools first, currency second. The exchange rates between them float based on player supply and demand across each three-month league, and tracking them has spawned entire third-party sites like poe.ninja. A Divine Orb was worth roughly 200 Chaos Orbs in early 2026, but that ratio shifts weekly.
The design outcome is fascinating. Because orbs are crafting tools with intrinsic game value, trading them feels less like spending money and more like making smart resource decisions. You’re not buying something. You’re optimizing. GGG accidentally (or deliberately) created one of the most psychologically sophisticated virtual economies in gaming. According to a deep-dive analysis on Game Developer, the orb-based system emerged partly from GGG’s desire to avoid a gold-inflation death spiral, but it produced an emergent player-driven market that most studios would struggle to engineer intentionally.
When Gaming Logic Jumps Sectors
This currency-layering design. The abstraction of real-money value behind proprietary tokens with their own internal exchange logic. Hasn’t stayed inside gaming. It’s migrated. Hard.
Crypto platforms learned it early. Loyalty and rewards programs picked it up next. And sports and entertainment media have spent the last two years watching digital-native payment models reshape how audiences engage with content and services. Baseball America, the century-old authority on professional baseball, has documented how crypto-denominated payment systems have pushed into North American sports and entertainment verticals, bringing with them the same psychological architecture that game designers spent two decades refining. Fragmented denominations, opaque conversion rates, and reward loops that feel like progress rather than spending.
The connective tissue is behavioral. Whether it’s Chaos Orbs or Bitcoin fractions, the design goal is identical: give the user a unit that doesn’t feel like losing money.
Gambling involves risk. Play responsibly and only wager what you can afford to lose. If gambling becomes a concern, visit BeGambleAware.org.
Why Abstract Currency Works on the Brain
Spending money hurts. Neuroscience is pretty unambiguous about this. The insula, the brain region associated with pain and disgust, activates when people make purchases. But spending tokens? Much less so. The psychological distance created by a proprietary currency reduces what researchers call the “pain of paying.”
Game designers figured this out empirically long before the research caught up. EA’s FIFA Points, Riot’s Riot Points (now replaced by Riot Currency), and every mobile gacha currency in existence all exploit the same mechanism. The Consumer Financial Protection Bureau flagged this directly in its 2024 report on banking in virtual worlds, noting that in-game currencies create meaningful barriers to understanding real-money equivalents. And that cosmetic items can and do acquire real-world fiat value, sometimes substantial.
The CFPB didn’t call it a design flaw. They called it a design feature worth watching.
The Overwatch Approach: Stability as a Trap
Back to Blizzard for a second. The Overwatch Coin system looks simpler than PoE’s orb economy on the surface. Fixed rate, clear shop prices, no floating exchange. But simple doesn’t mean transparent.
The bundle sizing is where the architecture reveals itself. You can buy Coins in increments of 500, 1,000, 2,200, 5,700, and 11,500. Most skins cost 1,900. The math never works out cleanly. You’re perpetually carrying a balance, perpetually primed to top up for one more item.
I’ve been in that loop. Deposited $20, bought a Kiriko skin, had 300 Coins left. Next season there’s a Tracer outfit at 1,500. Top up with 1,000 more, spend 1,500, left with 800. The balance never zeros out. That’s not coincidence. It’s a game-within-the-game, engineered at the SKU level.
Riot Games actually shifted away from one version of this with their 2024 Riot Currency overhaul, moving toward cleaner price points in some regions. Whether that’s consumer-friendliness or competitive repositioning is a fair debate. My read: it’s both.
Path of Exile 2 and the Evolution of the Economy
GGG’s Path of Exile 2, which entered early access in late 2024 and has been iterating through 2025 and into 2026, made some notable adjustments to the currency model. The crafting economy still runs on functional orbs, but the new Atlas endgame introduced Precursor Tablets as a tier of currency with their own sub-market. Early league economy data showed Precursor Tablets denominated primarily in Divine Orbs, creating a kind of currency strata. Small change (Chaos), mid-tier (Divine), and high-end (Tablets, Mirrors).
What PoE 2 demonstrates is that a barter economy, if it’s well-designed, scales without inflation destroying it. The games industry could stand to study this more carefully. Plenty of live-service titles die when their primary currency becomes so inflated that new players can’t participate in the economy at all. PoE has avoided that for over a decade through deliberate league resets and careful orb drop rate tuning.
That’s genuine design sophistication. Not every studio can pull it off, and frankly most don’t try.
What This Means for Players (and for Anyone Building Digital Products)
Here’s the uncomfortable honest take: the same design principles that make Path of Exile’s economy compelling and Overwatch’s shop sticky are also the principles that make any proprietary digital currency harder to evaluate clearly. That doesn’t make them malicious. It makes them effective. And effectiveness is neutral. It depends entirely on what it’s in service of.
Players who understand the architecture can engage with it deliberately. You can set a mental budget in fiat terms, convert before you spend, and treat the in-game currency as a UI layer rather than a real unit of account. Most players don’t do this, and the industry designs against it.
A few things worth knowing if you spend real money inside virtual economies:
- Divine Orbs and Chaos Orbs in PoE have real real-world value. People buy and sell them for fiat on third-party markets, which puts them in a different regulatory category than pure cosmetics.
- Overwatch Coins bought on sale (Blizzard runs regional discount events periodically) represent meaningful actual savings. The posted price isn’t the floor.
- Battle pass value calculations almost always assume you complete the pass. Most players don’t. That ‘break-even point’ math you see in YouTube videos is correct for maybe 30% of buyers.
None of this means the systems are unfair. It means they reward informed players and penalize passive ones. That’s true of most markets.
FAQ
What’s the difference between Overwatch Coins and Path of Exile’s orb currency system?
Overwatch Coins are a fixed-rate proprietary currency bought directly from Blizzard. Stable but deliberately awkward in bundle sizing. Path of Exile orbs are functional crafting items that double as tradeable currency, with floating exchange rates set by player supply and demand. One is a shop mechanism; the other is a full player-driven economy.
Why do games use virtual currencies instead of letting players pay directly in USD or local currency?
Abstracting real money into tokens reduces the psychological “pain of paying,” makes pricing comparisons across regions easier, and allows studios to create bundle sizes that leave residual balances. The result is that players hold unspent currency and return to spend it, rather than making clean individual purchase decisions.
Does Path of Exile’s orb economy cause inflation over time?
GGG manages inflation primarily through seasonal league resets. Every three months, the economy effectively restarts, preventing any single currency from hyperinflating. Path of Exile 2 introduced additional currency tiers in 2025 and 2026 that have added complexity, but the reset mechanic has kept the economy functional for over a decade.
Are in-game currencies regulated the same way as real money?
Generally not, though this is changing. The CFPB’s 2024 report noted that some virtual currencies. Particularly those tradeable for fiat. Sit in a regulatory grey zone. Cosmetic-only currencies like Overwatch Coins face less scrutiny than systems where in-game items can be converted back to real-world cash.
How should players budget when spending real money on in-game currencies?
Convert to fiat before you commit. Ignore the in-game denomination entirely and ask “how much is this in dollars?” before deciding. Set a monthly fiat limit, not an orb or coin limit, since proprietary units distort your sense of scale.
In EA Sports FC 26 (FC 26) Ultimate Team, the transfer market is not just a trading hub for acquiring your favorite football stars; it is a highly dynamic and complex micro-economy. As the season progresses, the purchasing power of the Coins in your wallet will inevitably experience drastic fluctuations. Understanding the game’s inflation mechanics is a mandatory lesson for every hardcore player looking to preserve or even grow their digital assets.
The Supply and Demand of the Market Pool
The economic system of FC 26 is built on fundamental laws of supply and demand. The size of the in-game monetary pool dictates the baseline for all prices.
● Coin Over-Generation: Players continuously inject base coins into the market by completing matches, participating in FUT Champions, and finishing objectives. This uncapped currency expansion naturally leads to a gradual decline in overall purchasing power.
● The Siphon Effect of Top-Tier Cards: While low-to-mid-tier player cards rapidly depreciate due to massive pack openings (dropping to absolute discard fodder prices), the Meta players at the top of the pyramid will actually see their prices surge as the total coin pool increases.
● Purchasing Power Divergence: The price gap between standard gold cards and special promo cards will widen significantly over time, creating a heavily polarized market.
Price Crashes Triggered by Flash Promos
If standard currency over-generation is considered mild inflation, the frequent official promo events are the “black swans” that cause violent market tremors.
Core Observation: “Panic Selling” by the player base often causes more destructive damage to the market than the actual promo itself.
● Lightning Rounds: During major events like Black Friday or Team of the Year (TOTY), EA releases a massive amount of unlimited or time-limited premium packs. This sudden surge in supply can instantly shatter the price floors of existing players.
● SBC Market Drains: When a highly valuable, untradeable Squad Building Challenge (SBC) drops, players will often liquidate their tradeable squads to buy required materials. This triggers a widespread market crash while simultaneously causing specific high-rated fodder cards to spike in value.
● Power Creep: Every time a new promo introduces cards with better stats and PlayStyles, older cards in the same positions face a liquidity crisis, suffering a step-by-step, irreversible drop in value.
Effective Strategies to Prevent Asset Depreciation
Navigating these complex market fluctuations requires players to establish sound asset management logic to prevent their hard-earned wealth from evaporating during market crashes.
Here is a comparison of mainstream asset preservation strategies:
| Strategy Type | Operational Logic | Risk Level | Best Use Case |
| Going Liquid | Cashing out by selling all tradeable players before a major promo to hold pure Coins. | Low | Expecting a market crash before the weekend or a massive promo event. |
| Fodder Investing | Accumulating high-rated gold cards (84-89) at discard prices during quiet periods, then selling when popular SBCs drop. | Medium | Players with moderate capital, market awareness, and patience. |
| Out-of-Pack Investing | Buying highly desirable promo cards that are no longer in packs (e.g., early TOTW cards). | High | Wealthy players willing to take high risks for massive profit margins. |
Beyond these in-game trading strategies, the early-game time commitment and resource accumulation represent the hardest hurdles to overcome. Many new players struggle with a lack of startup capital and easily fall behind during the severe early-game inflation.
For those looking to skip the tedious late-game grind and dive straight into the high-rated endgame content, establishing a stable asset channel is essential. With only a couple of months left in the FC 26 lifecycle, spending endless hours grinding standard rewards is no longer practical. Whether you prefer to secure extra FC 26 coins to build your ultimate squad from the transfer market, or directly acquire a well-progressed ea fc 26 accounts for sale to enjoy high-tier competition immediately, taking control of your resources ensures you maximize your enjoyment before the next title drops..
The vibrant Counter-Strike 2 economy relies heavily on external platforms for cosmetic upgrades. While the Steam Community Market is a standard option, its high transaction fees and lack of cash-out features drive players toward specialized skin exchange platforms. Third-party websites offer greater speed, vast inventories, and superior value when upgrading weapon skins.
Whether you want to swap a basic weapon skin for high-value glove skins or upgrade your knives, selecting a trustworthy platform ensures you avoid phishing links and hidden costs. For a seamless and reliable experience, you can trade cs2 skins using SkinMonkey, our top editorial recommendation for secure skin trading.
What Makes a Great CS2 Trading Site?
Evaluating a gaming marketplace requires looking beyond flashy banners to analyze practical trading workflow and backend security. A premier skin marketplace must offer a balance of liquid inventory and robust safety features. When reviewing platforms to trade CS2 skins, we utilize specific criteria based on real-world trading experiences:
- Large Inventory: Adequate stock of high-demand items, including Doppler knives, Fade knives, and StatTrak skins.
- Fast Trade Bots: Fully automated systems that execute trade offers within seconds.
- Transparent Pricing: Clear item value calculations that show the exact spread before you confirm a transaction.
- Secure Steam Login: Integration via official Steam API keys to keep your Steam credentials protected.
- Good Reputation: High Trustpilot scores and positive community feedback within active trading circles.
- Competitive Exchange Rates: Low margins built into bot trading valuations so you retain your asset value.
- Active Customer Support: Access to 24/7 live assistance to resolve potential trade holds or API issues.
Best CS2 Trade Sites for Knives, Gloves & Rare Skins
1. SkinMonkey (Recommended #1)
SkinMonkey stands out as the ultimate automated bot-trading platform for instant, hassle-free inventory upgrades. Its highly optimized interface allows users to connect their Steam Trade URL and instantly swap unwanted inventory items for premium items. The platform boasts an exceptionally deep stock of exceedingly rare cosmetics, making it incredibly easy to execute complex knife upgrades or find matching glove skins.
Safety is central to the platform architecture, utilizing full Steam Guard compatibility and encrypted transaction processing to guarantee secure skin trading. Because the system calculates trade values instantly without making you wait for a human buyer, you can complete a trade within a few clicks. If you are looking to revitalize your loadout with a classic Karambit or a clean Butterfly Knife, you can safely trade cs2 skins via their optimized automated trade bots today.
2. Tradeit.gg
Tradeit.gg is one of the oldest and most established bot-based platforms in the CS2 economy. It offers massive multi-game support, allowing cross-game trading for titles like Rust, Dota 2, and Team Fortress 2 alongside Counter-Strike 2 skins.
- Pros: Rapid transaction times; frequent community giveaways; extensive cryptocurrency support for account deposits.
- Cons: High built-in fees for instant-cash out transactions; the dense user interface can be overwhelming for beginners.
3. CS.MONEY
CS.MONEY is a massive skin marketplace famous for its incredibly detailed item inspection tools and advanced virtual 3D skin previews. It remains a popular hub for elite collectors tracking precise float values or hunting specific rare pattern index variants.
- Pros: Unmatched database of rare items; sophisticated search filters for float value and stickers.
- Cons: Trading spreads on common weapon skins can be higher than competitors; no direct fiat cash-outs.
4. DMarket
DMarket operates a dual-model system, giving users the freedom to choose between rapid bot-driven skin exchanges or a direct peer-to-peer (P2P) gaming marketplace. It provides highly flexible options for global traders who want to fine-tune their trading strategy.
- Pros: Highly transparent, flat 2% seller fee structure; cross-game functionality with excellent mobile app integration.
- Cons: The user verification process can be slow; matching P2P deals manually requires extra patience.
5. CSFloat
CSFloat is a highly advanced peer-to-peer marketplace that completely cuts out the middleman bot system. Because items remain inside your own Steam inventory until a real buyer purchases them, you successfully bypass Steam’s standard 7-day trade hold.
- Pros: Industry-leading ultra-low 2% sale commission fee; direct buyer-to-seller interactions; enormous database indexing billions of skins.
- Cons: Lacks the instant gratification of automated trade bots; requires manual verification of every outgoing trade offer.
Tips for Safe CS2 Skin Trading
Safeguarding your digital assets is vital when navigating third-party marketplaces. Malicious actors frequently attempt API scams, making vigilance just as important as finding the best item prices. Use these practical safety protocols to keep your inventory secure:
- Enable Steam Guard: Always keep two-factor authentication (2FA) active on your mobile device to authorize transactions.
- Verify Trade Offers: Cross-reference the creation date and registration details of the trading bot before accepting an offer.
- Compare Values: Check market averages across multiple sites to ensure you are receiving fair trade values.
- Avoid Phishing Links: Never log into a website that does not use the official, secure Steam Community OpenID portal.
- Double-Check Item Floats: Confirm the exact wear parameters and stickers of the item inside the actual Steam trade window.
- Keep API Security in Mind: Periodically check your Steam API dashboard and revoke any unknown keys to prevent trade redirection scams.
Final Verdict
While platforms like CSFloat offer incredible fee savings for patient sellers, and CS.MONEY provides deep analytical tools for high-tier collectors, SkinMonkey earns our top recommendation for overall trading efficiency. Its combination of rapid, bot-driven trade execution, an easy-to-use interface, and a highly secure environment makes it perfect for both beginners and veteran collectors looking for instant upgrades.
Ultimately, you should choose the platform that aligns best with your specific trading goals, whether that means saving on fees or getting your new knives instantly. Ready to swap your old gear? Head over to your preferred platform, verify your trade security, and upgrade your CS2 inventory today.
-
 Guides6 years ago
6 Proven Ways to Get more Instagram Likes on your Business Account
-
Mainstream11 years ago
BioWare: Mass Effect 4 to Benefit From Dropping Last-Gen, Will Not Share Template With Dragon Age: Inquisition
-
 Mainstream8 years ago
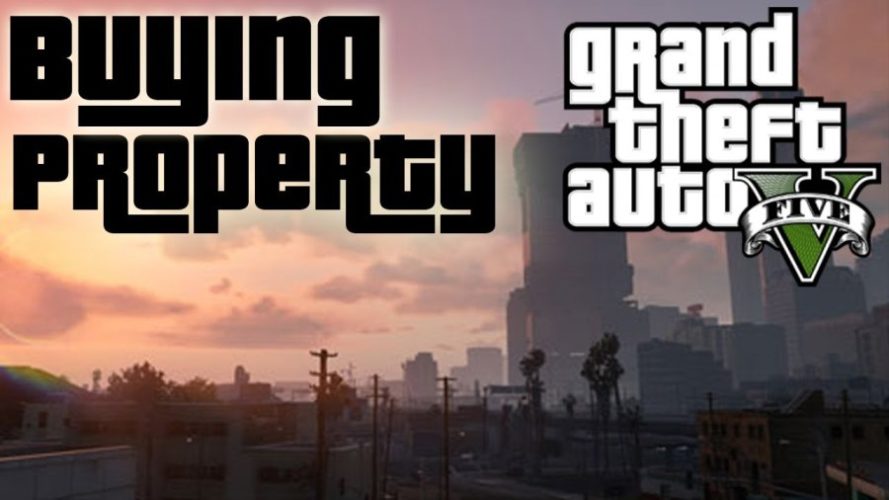
How to Buy Property & Safe Houses in GTA 5 (Grand Theft Auto 5)
-

 Guides2 years ago
Free Fire vs PUBG: Comparing Graphics, Gameplay, and More
-

 Guides1 year ago
50+ Free Fire ID and Passwords Login List (Giveaway) 2025
-
 Casual3 years ago
8 Ways to Fix Over-Extrusion and Under-Extrusion in 3D Printing
-

 Other2 years ago
Ajjubhai UID: Free Fire Details & Earnings
-

 Features2 years ago
Exploring Valorant eSports Stats: Unveiling the Metrics Behind Competitive Excellence